How do you start a brand new mulch bed over grass for the first time? Here is my method that I've used a few times but it's certainly not the only way to do it. I'll show step by step photos and talk about the pros and cons of this method compared to other ways to do it.
The very first thing I like to do is to visualize the shape of the bed by laying out a garden hose in the shape that the bed will be in eventually. I like nice gradual curves, so a garden hose is the perfect outline to start planning, then you can step back and make sure you like it.
 |
| Using a garden hose to plan out the shape of the new mulch bed |
I'm glad I did this because when I took a step back I realized I wanted more of a concave curve at the top rather than convex to basically make the whole thing look like a kidney bean or fat boomerang. The kidney bean shape is very common in landscaping and the gradual curves are pleasing to the eye. The benefit of the curve on the high side of the yard is that water will flow around it on its way down hill.
My next step while the hose is still in place is to just nuke everything with roundup. You could also edge around the whole thing with a half moon edger and peel up the sod, but this grass has been growing here for a few months and the sod is really hard to dig up. Plus I want as much topsoil as I can get in the new bed so I don't want to remove the sod layer I want to keep all that material in the bed and even build it up from there.
I let the roundup start to take effect before removing the hose to make sure I have my outline. On a hot day in direct sunlight, the roundup should have a noticeable impact on the grass even in a couple hours.
 |
| Remember to rinse your hose off because now it's covered in RoundUp |
The next morning it looked like this...
 |
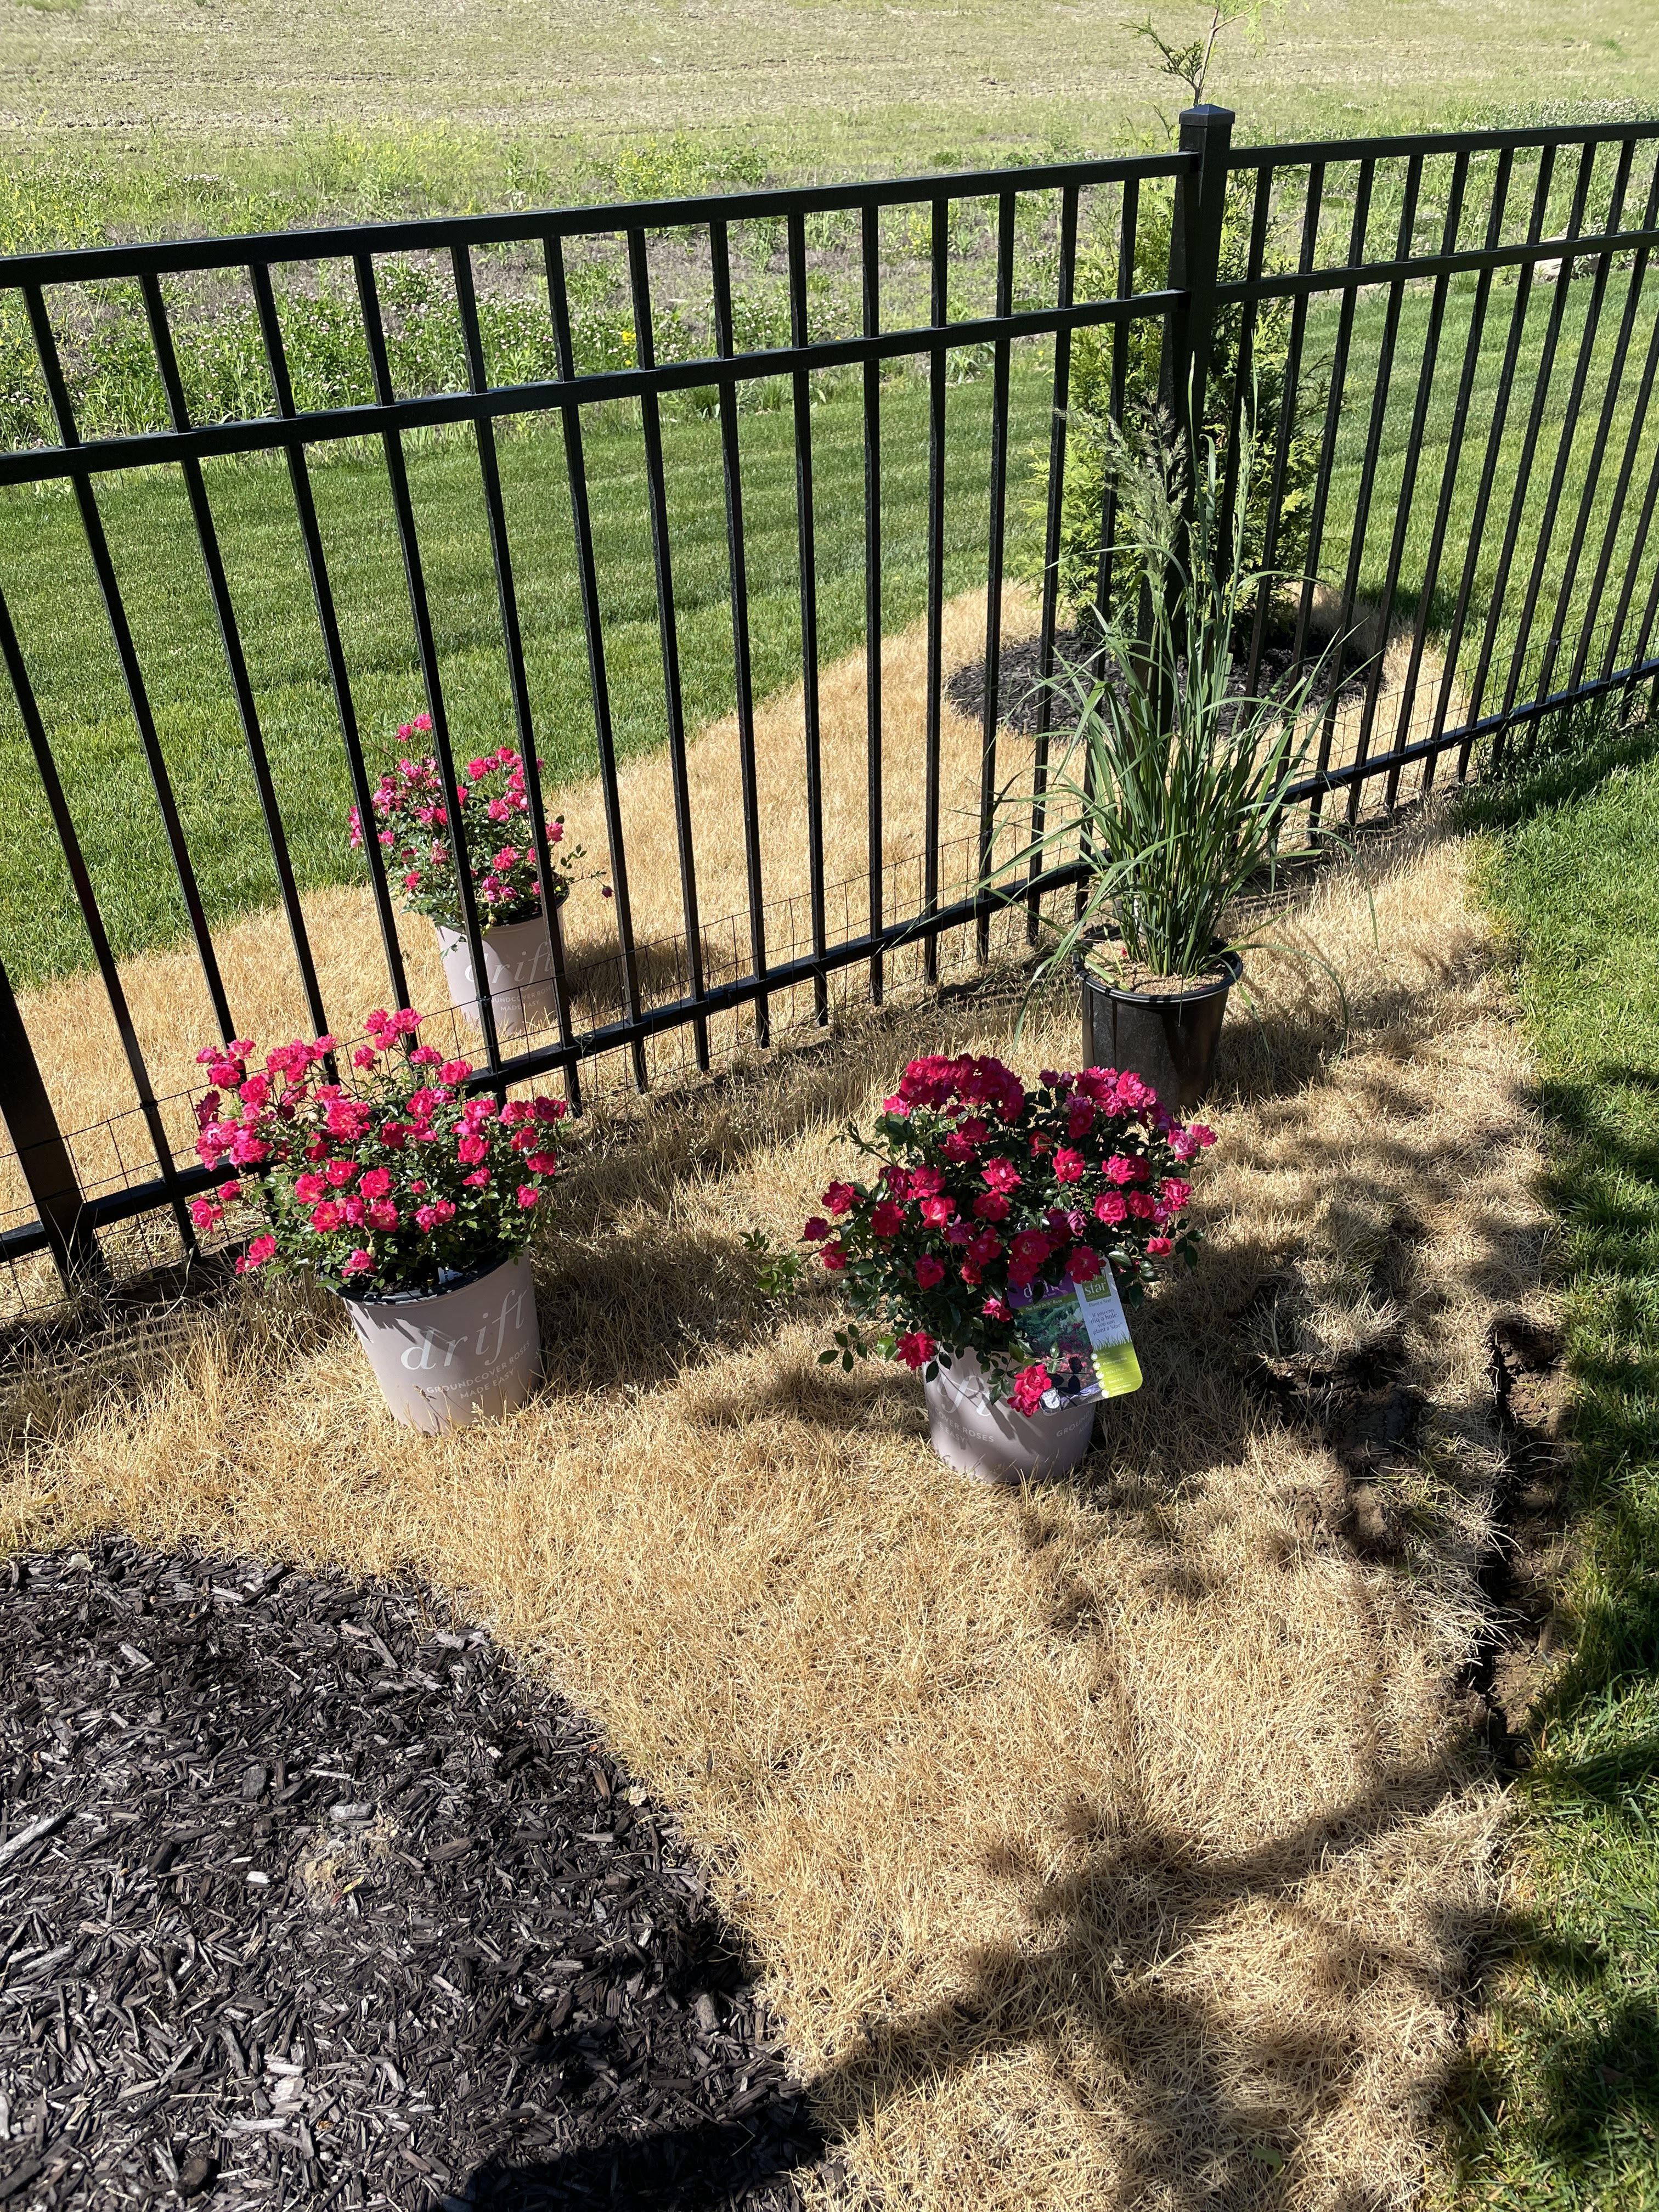
| Shape of new mulch bed in dead grass |
I did have to go back and touch up a few parts with extra grass killer, a few days later it was evenly crispy. I let it stay like this for about a week and a half - I didn't want to plant anything into a bed of roundup right away. I wonder what the neighbors thought with this big bean shape patch of dead grass.

Next we bought a bunch of plants to fill the bed, in this case we got a few colors of Drift roses. Knowing I wanted to raise the bed up a little above the sod line, I dug shallow holes for the plants and mounded fresh topsoil mixed with peat moss around them.
Having the shape of the bed outlined in dead grass made it easy to arrange the plants how I wnated them. It's at this point I also went around the entire bed with a half moon edger and cut a crisp line the whole way around. Then I went back around again with the edger at an angle to cut a V shape (or in this case more of a moat) into the edge.
The whole thing basically has a 2 inch deep moat around it cut below the sod line. When you then back fill it with mulch it comes up to a deep vertical edge that helps to keep the mulch in place and also helps prevent the grass from spreading into the mulch bed because it hits air instead of soil when it tries to spread horizontally.

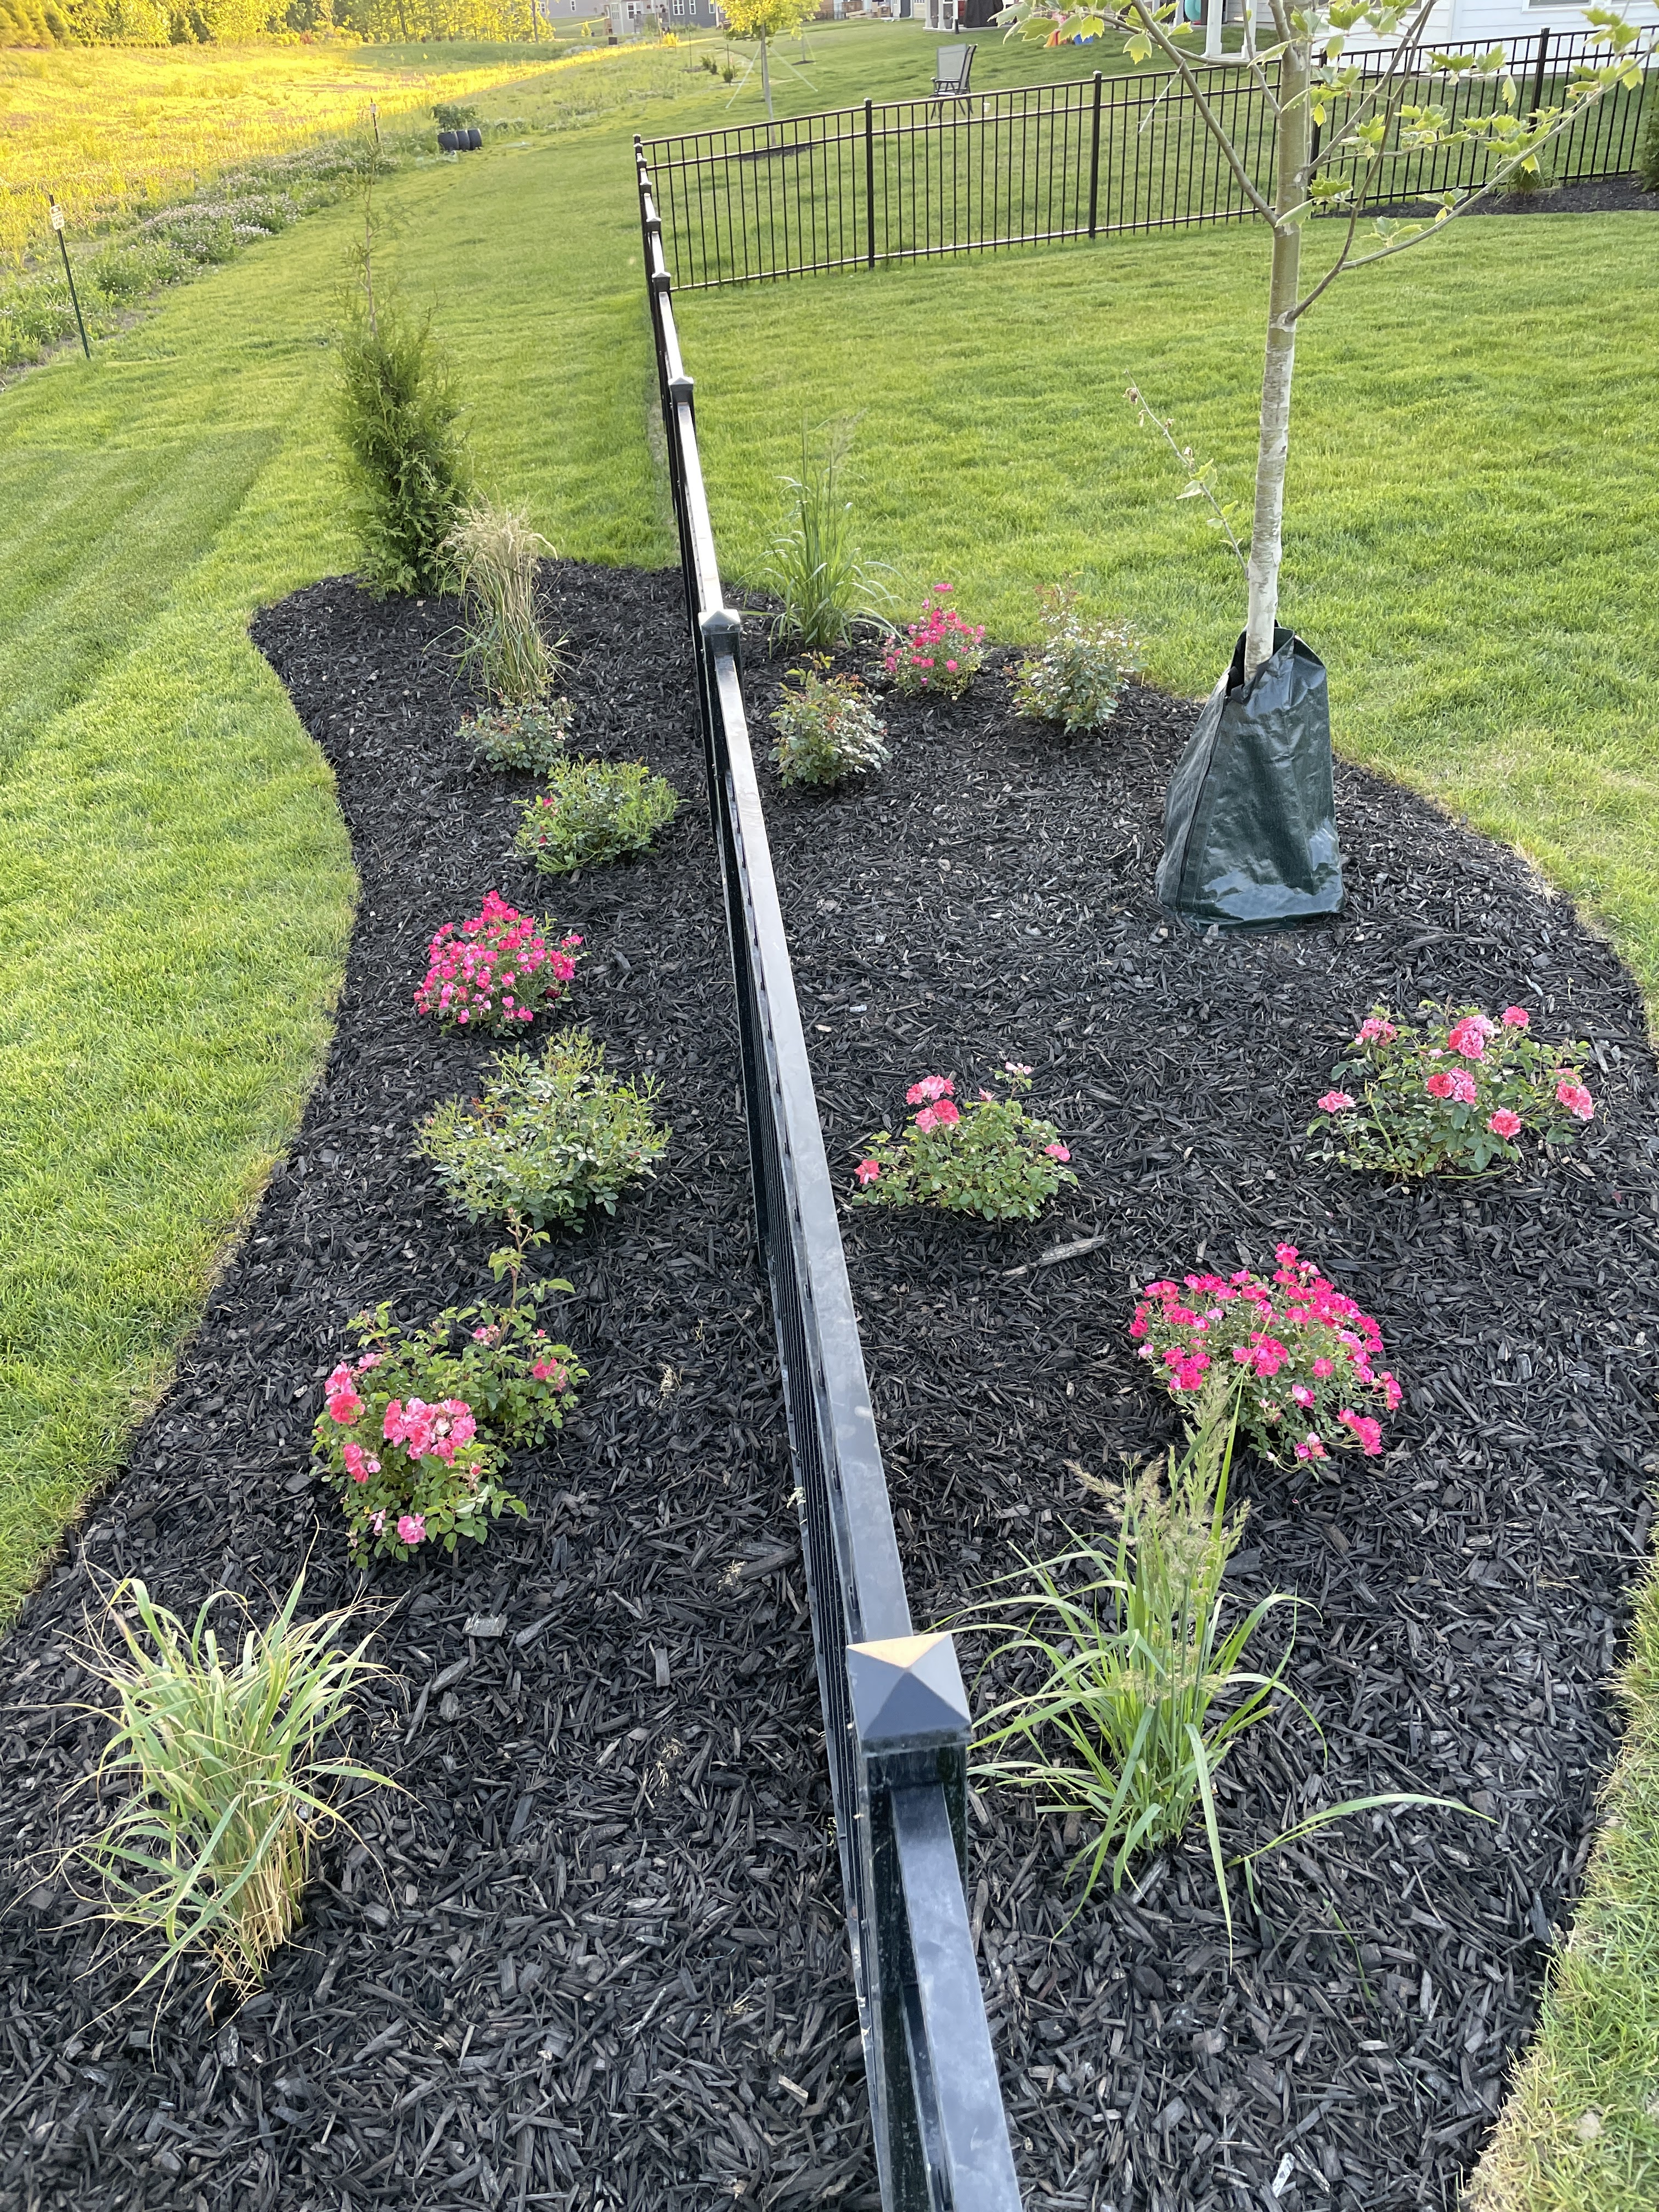
So there you have it, here is a before and after photo. I just love how odd it looks having a perfectly sculpted patch of dead grass in the yard and then the after photo making it look like the mulch bed has been there all along. That's really the goal to make it look like it's natural or supposed to be there and now that you just came along and spilled mulch on top of the grass.
 |
| Before and after |
No comments:
Post a Comment