Showing posts with label Kalanchoe thyrsiflora. Show all posts

Sunday, February 22, 2015

Re-potting With Proper Soil, I Hope

This post is going to be one that is more of a personal plant journal for future me, and presumably less useful for a worldwide web audience. But we'll see, sometimes I find it useful to dig through others' garden journals for bits of information on what does (and doesn't) work.


So it turns out the potting soil Chris brought me, left over from a school project, was about 2 years old. That might explain the fungus that started growing on the surface, and why the soil barely absorbs any water - it's very hydrophobic, when I water my succulents the water beads on the surface. So these probably aren't hallmarks of great soil!

plants in windowsill
I consolidated some of my windowsill plants with fewer succulent ramekins, a larger pot for my Jade [Crassula argentea], and much larger pot for my bamboo [Fargesia rufa 'Green Panda'] - which hopefully grows quickly so I can transplant it outside this Spring.


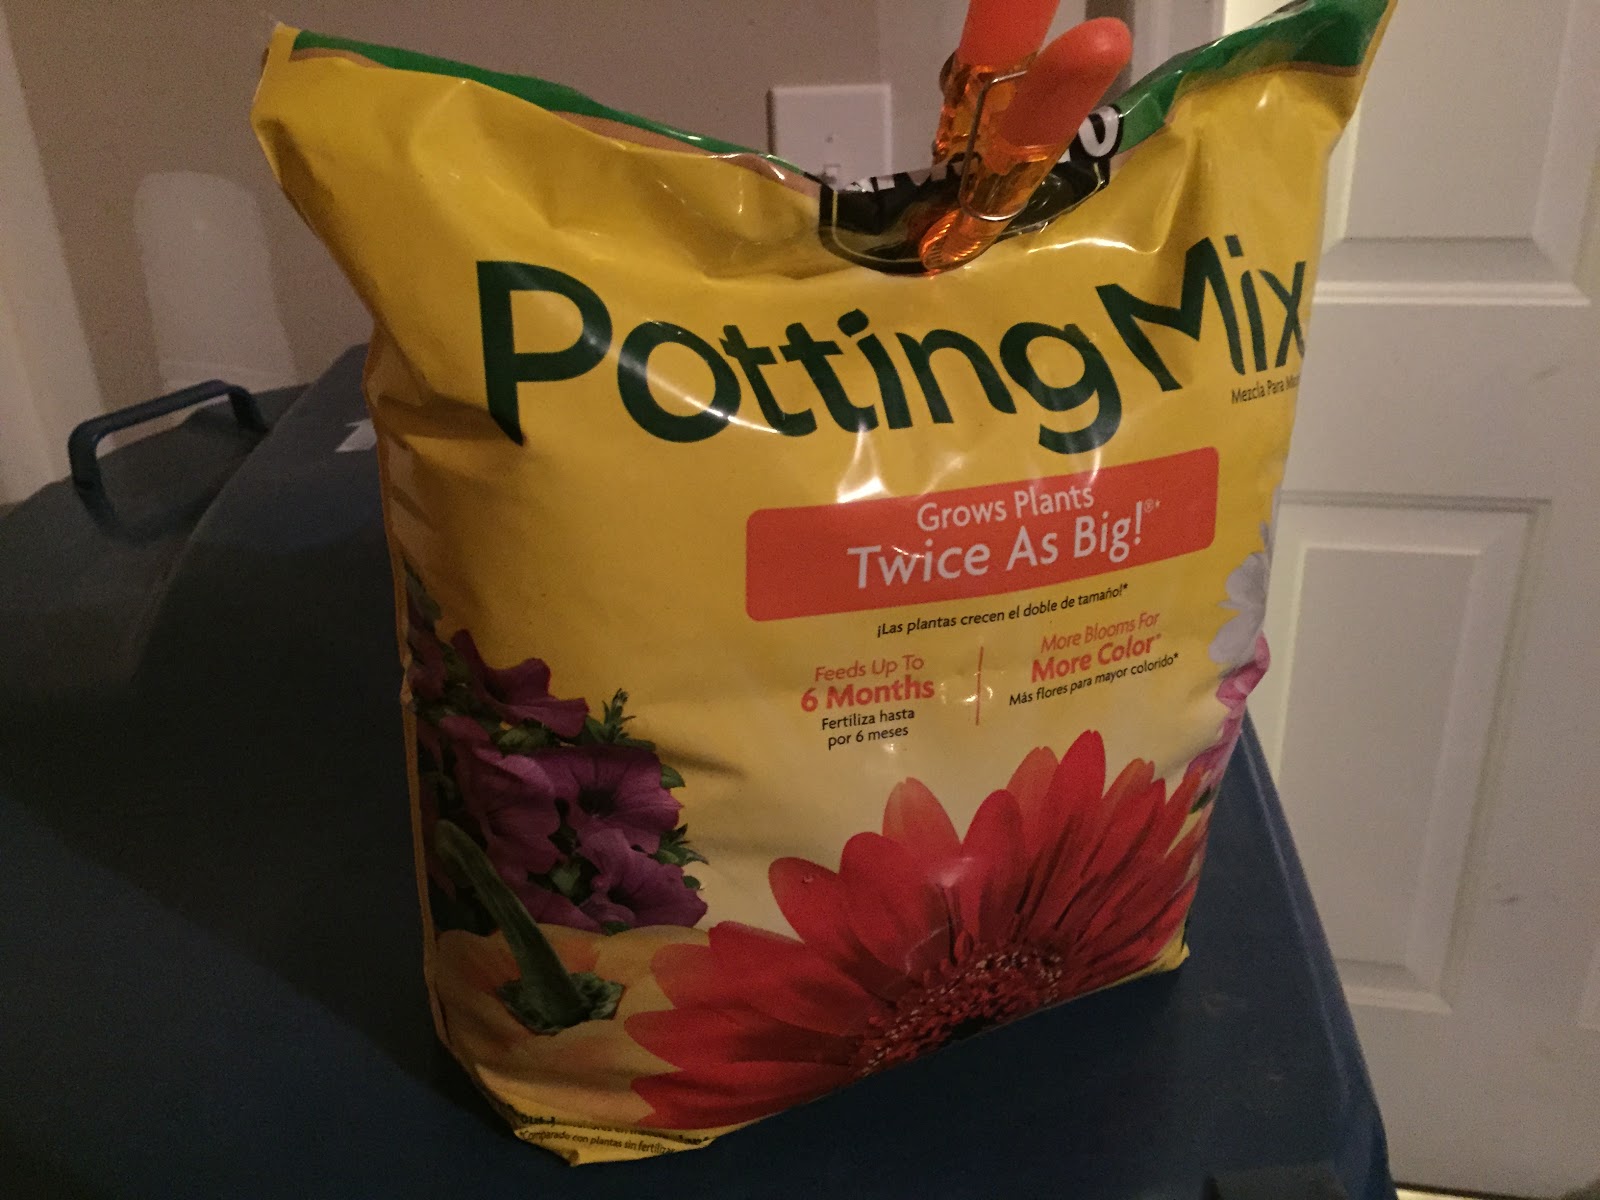
I went to the store and got some actual succulent soil, and some fresh potting soil. I picked up a larger black plastic pot for my bamboo to give its roots room to grow before the Spring. I could have bought another for my Jade, but I found a glass jar we used to keep a candle in.

potting soilcactus mix

I took the quartz chips from the bonsai tray and repurposed them as a top dressing for my succulents. I used river rocks we had from a candle tray to fill in the drip tray, and also in the bottom of the Jade plant's new glass jar.
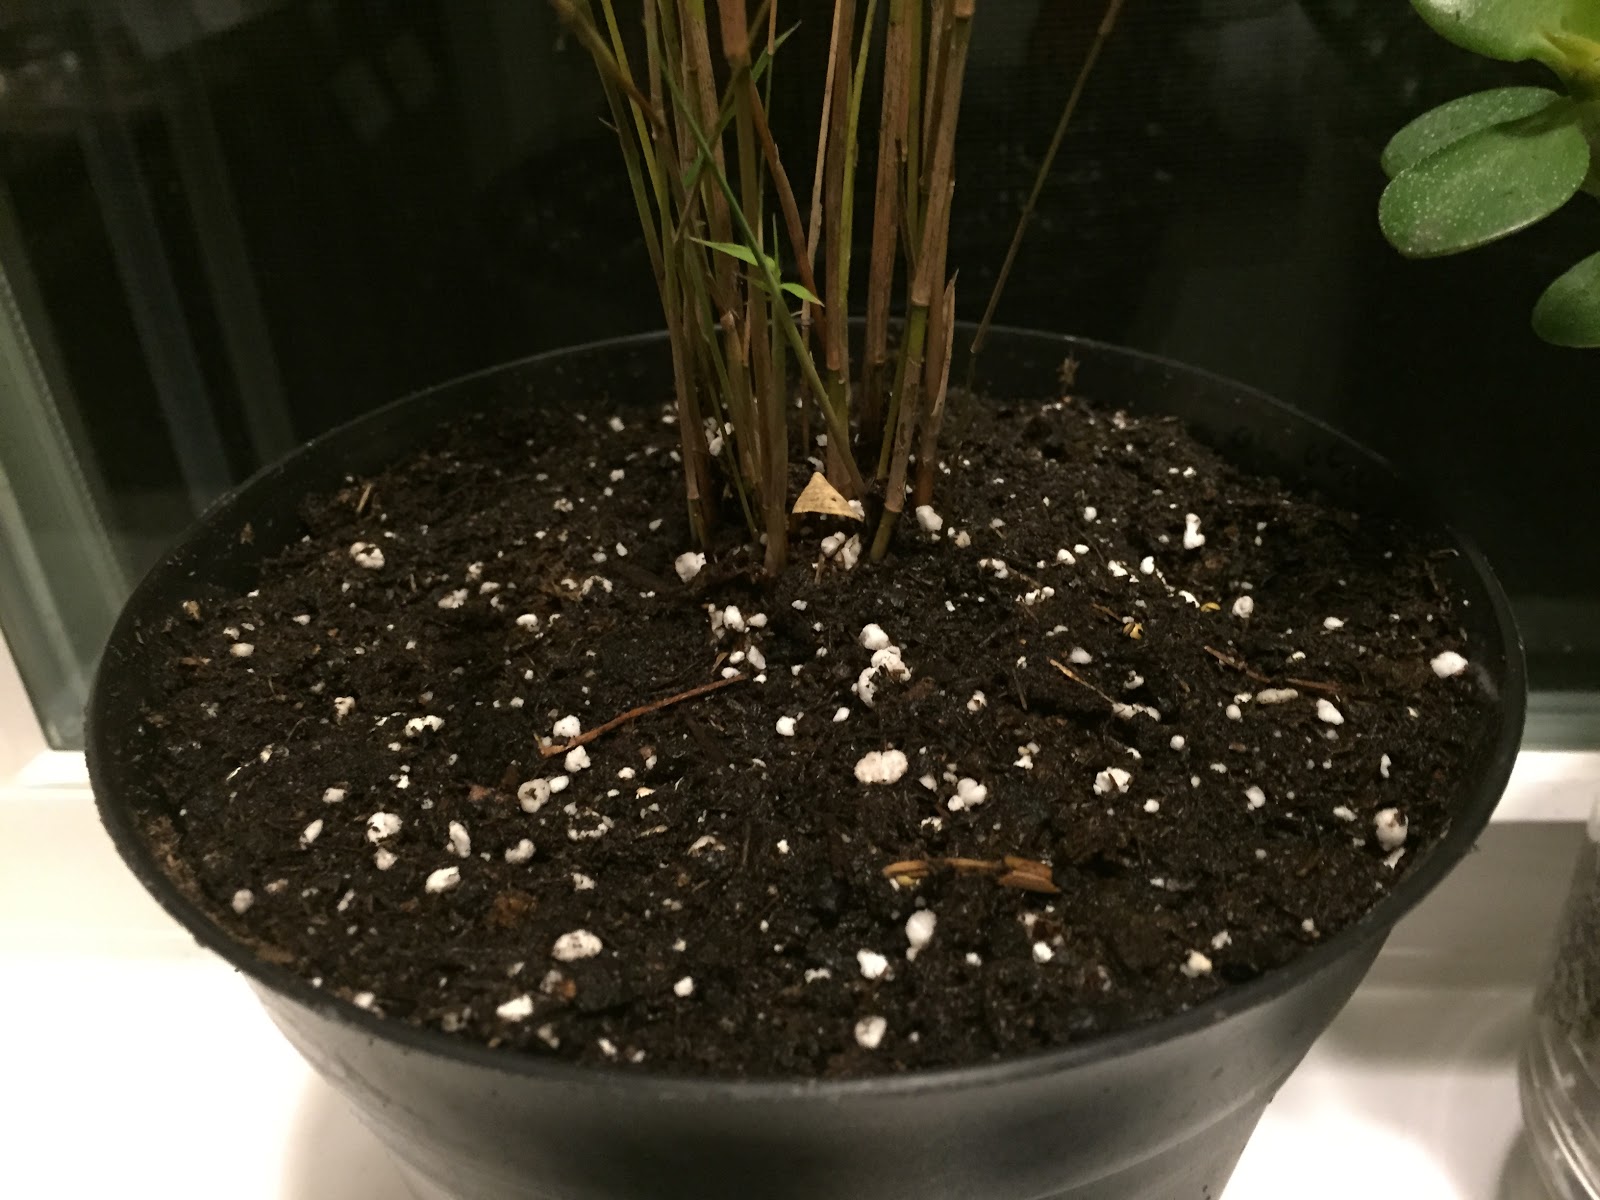
bamboo in potting soil
Bamboo re-potted with layer of quartz chips on bottom, 1 inch of succulent mix, and the rest regular potting soil. The original root ball is in peat moss. Hopefully this mix works out!

quartz chips on top of soil
Cryptanthus bivittatus in succulent potting soil with quartz chips on top

quartz chips on top of soil
Baby Kalanchoe thyrsiflora growing on a plucked naked stem, also in succulent mix topped with quartz chips


I put some quartz chips in the bottom of the bamboo pot, and filled the bottom 1 inch or so with succulent mix. I read that bamboo loves loamy organic soil, so I put normal rich potting soil in the top part, but I figured the slightly sandy ratio of the succulent mix toward the bottom might help with drainage - but I kinda just pulled that idea out of my rear end. The soil that came with the bamboo certainly is loamy, and looks like it has a lot of peat moss... hopefully the fresh regular mix is fine for now.

succulent mix on top of bonsai soil
Golden Gate Ficus [Ficus microcarpa]. River rocks from an old candle display now in the bonsai tray, and a thin layer of succulent mix over the top of the bonsai soil. Hopefully this wasn't a major mistake! It looks a lot more attractive because before the perlite exposed on top of the bonsai soil looked like a tray of gravel.

So keeping in mind that the succulent soil is 'fast draining' I put a very thin layer of it just over the top of the bonsai soil because it cleans up the look a great deal. The bonsai pot had an entire layer of perlite on top that looked like gravel. It looked like they had been watering it and maybe all the top soil washed away over time. I'll keep an eye on it and hopefully succulent soil won't hold too much water to make it rot - these things are supposed to love damp soil after all. Instructions say to soak it every third day or so.

succulent leaves arranged in radial pattern
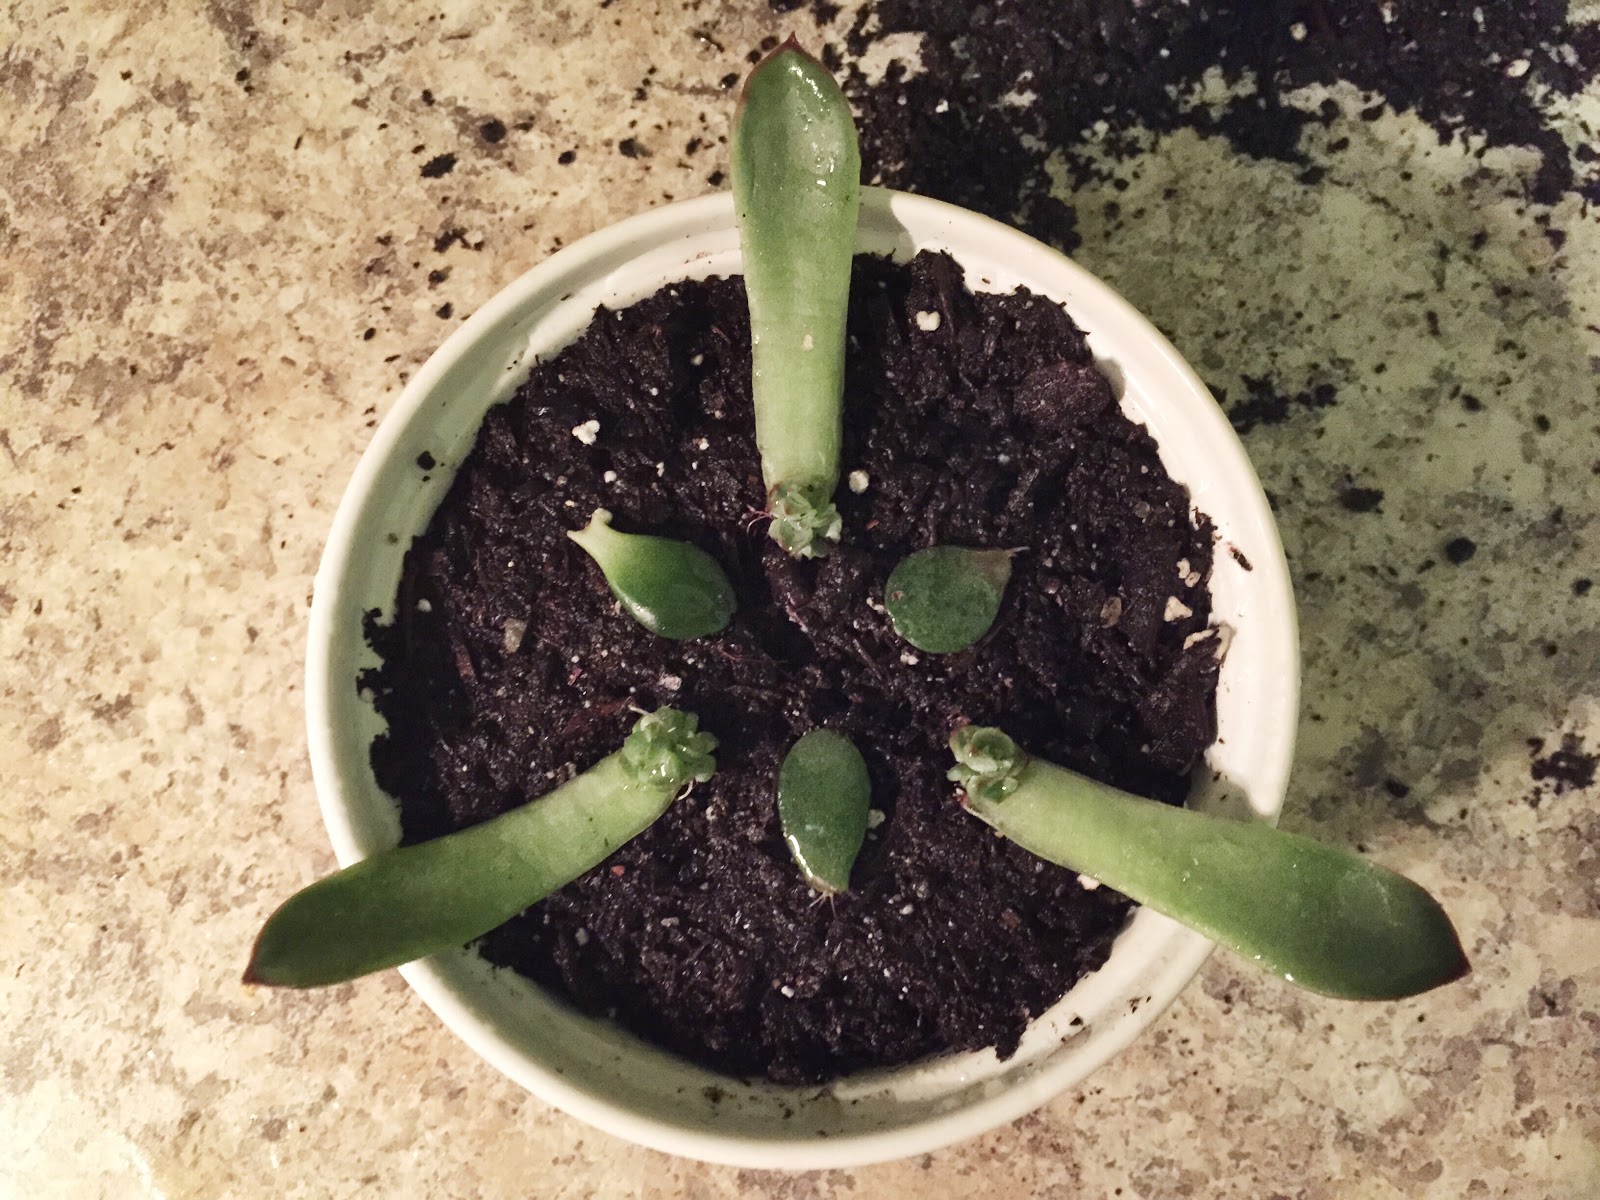
I also gave my succulent propagation babies some proper succulent soil and consolidated them into one ramekin. When I uprooted one of them, I noticed that in addition to little pink roots it had a fairly long white root growing down into the soil as well. I don't know how that compares with where they should be after 7 weeks, but hey!

Tuesday, January 27, 2015

Checking In: Succulent Propagation Week 3

After reading this AMAZING blog post about succulent propagation, I decided to try my hand at making little succulent babies of my own! That was about 3 weeks ago, and I was starting to worry that the leaves I pulled from the Aeonium haworthii Echeveria pulidonis weren't going to sprout babies. If you don't pull them off close to the stem you leave off the portion that is capable of regenerating.
 
succulent progress photos
Succulent leaves on January 2, 2015 (the 'before' photo)
 I put the leaves on top of the soil and let them callous over on the ends. I would drip a few drops of water onto the soil every few days after washing my hands - literally a couple drops each. I guess I was thinking that I would trick them into thinking it was raining and it might be a nice time to put down new roots - no idea if this did anything at all, haha!


I first started with leaf pieces, that didn't do anything. After doing more reading, this isn't surprising because the section of the leaf that is capable of reproducing new roots is on the very very base. I took cuttings from each of the 4 succulent varieties and tried to propagate them as well. I realized that not all succulents reproduce from leaflets.

So where are we now? After 3 weeks, here is some visible progress!

succulent progress photos
January 25, 2015 (progress 3 weeks)
succulent progress photos
January 25, 2015 (progress 3 weeks)
succulent progress photos
January 25, 2015 (progress 3 weeks)
In this last picture, notice the Cryptanthus bivittatus leaves that are just sitting there not doing anything. Yeah, I guess this technique doesn't work with them, so just ignore those!

What about the paddle plant, the Kalanchoe thyrsiflora. Well the leaves didn't do anything after I pulled them off, they just dried up. But the stump that was left behind did sprout some new leaves! I guess this type of succulent doesn't propagate from leaflets, but it looks like I could chop the stump into columns and get new plants from each.

baby paddle plantpaddle plant propagation new sprouts

I'm encouraged by the progress! My husband Chris hates looking at these pieces of plants laying in ramekins on the windowsill, so the sooner they look like real plants the better!

camera on tripod with succulent
On this project I also learned to use manual focus and a tripod to get better narrow depth of field photos

close up succulent photo


Sunday, January 18, 2015

Identifying my Succulents with Google Images


I'm pretty handy with Google, but it still takes me a looooong time to search around until I've found pictures of plants that match the plants I'm trying to identify. For example, without too much prior knowledge of conifer varieties, I was able to more or less pin down the different types of trees I saw around my hotel.


Granted, I'm a bit anal when it comes to getting it right. I don't want to perpetuate mis-identifications, and I want to be as precise as possible. Sometimes, when I get plants that are labeled "various succulents" this is harder to do because it's up to me to search out the true identity.

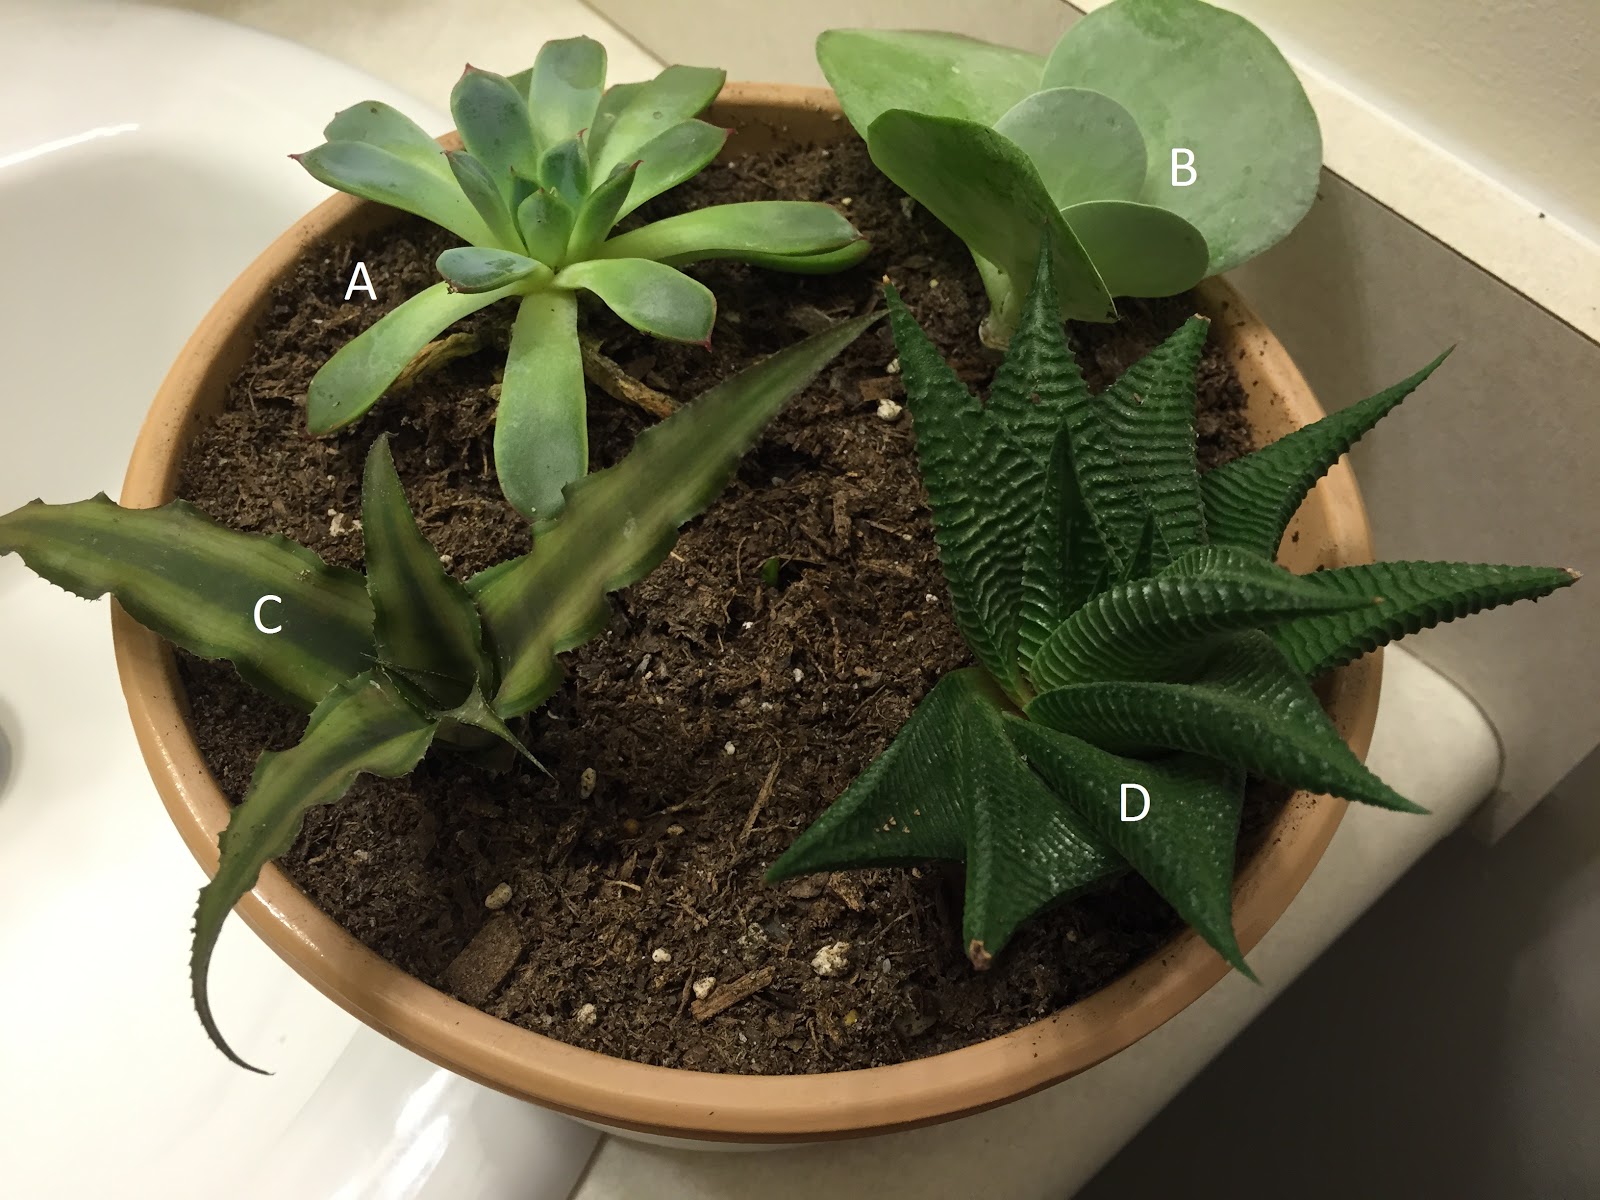
So here is the challenge, this pot of 4 different types of succulent plants. Let's begin!

help identifying succulents
Four 'various succulent' plants sold in a pot with no plant tags


I found a great gallery of succulent plants to browse through, looking for general characteristics such as the leaf shape. This actually helped a lot, and I was able to narrow down two of the plants: A and D with just this gallery.

A - looks most similar to Aeonium, but I wasn't sure what kind. The leaves are rather long and slim compared to others that are very fat and juicy. My best guess at this point is some variety of Aeonium haworthii. Update: After I found a labeled individual plant that looks exactly like mine at Lowe's, I discovered it was actually Echeveria pulidonis.

D - was a little more straight forward, the succulent plant gallery had one that looked pretty dead on - it's Haworthia limifolia. When I found it on Dave's Garden called "fairy washboard" I knew this was it from the description and the other photos. It's hard green ridges would make a perfect washboard for a fairy!

C - was easier because I sort of cheated - I saw a similar plant at Lowe's that was obviously the same species but a pink variety. I took a photo of the plant tag to remind myself what it was later, and when I looked it up online I knew it was some variety of Cryptanthus bivittatus.

B - took the longest to identify because it could be one of about 3 different things. It didn't look like any of the plants in the succulent gallery. I was just Googling around for common succulent houseplants and saw one that looked similar but it had red tips and mine clearly does not. It's some kind of Paddle Plant, and goes by many other names. Finally when I read an article that distinguished between the ones with red tips and the one that has "chalky green leaves" I was convinced that this was the one: Kalanchoe thyrsiflora.

succulent small green leaves Baby Jade Crassula argentea
I wish all plants came with tags like my Baby Jade [Crassula argentea]
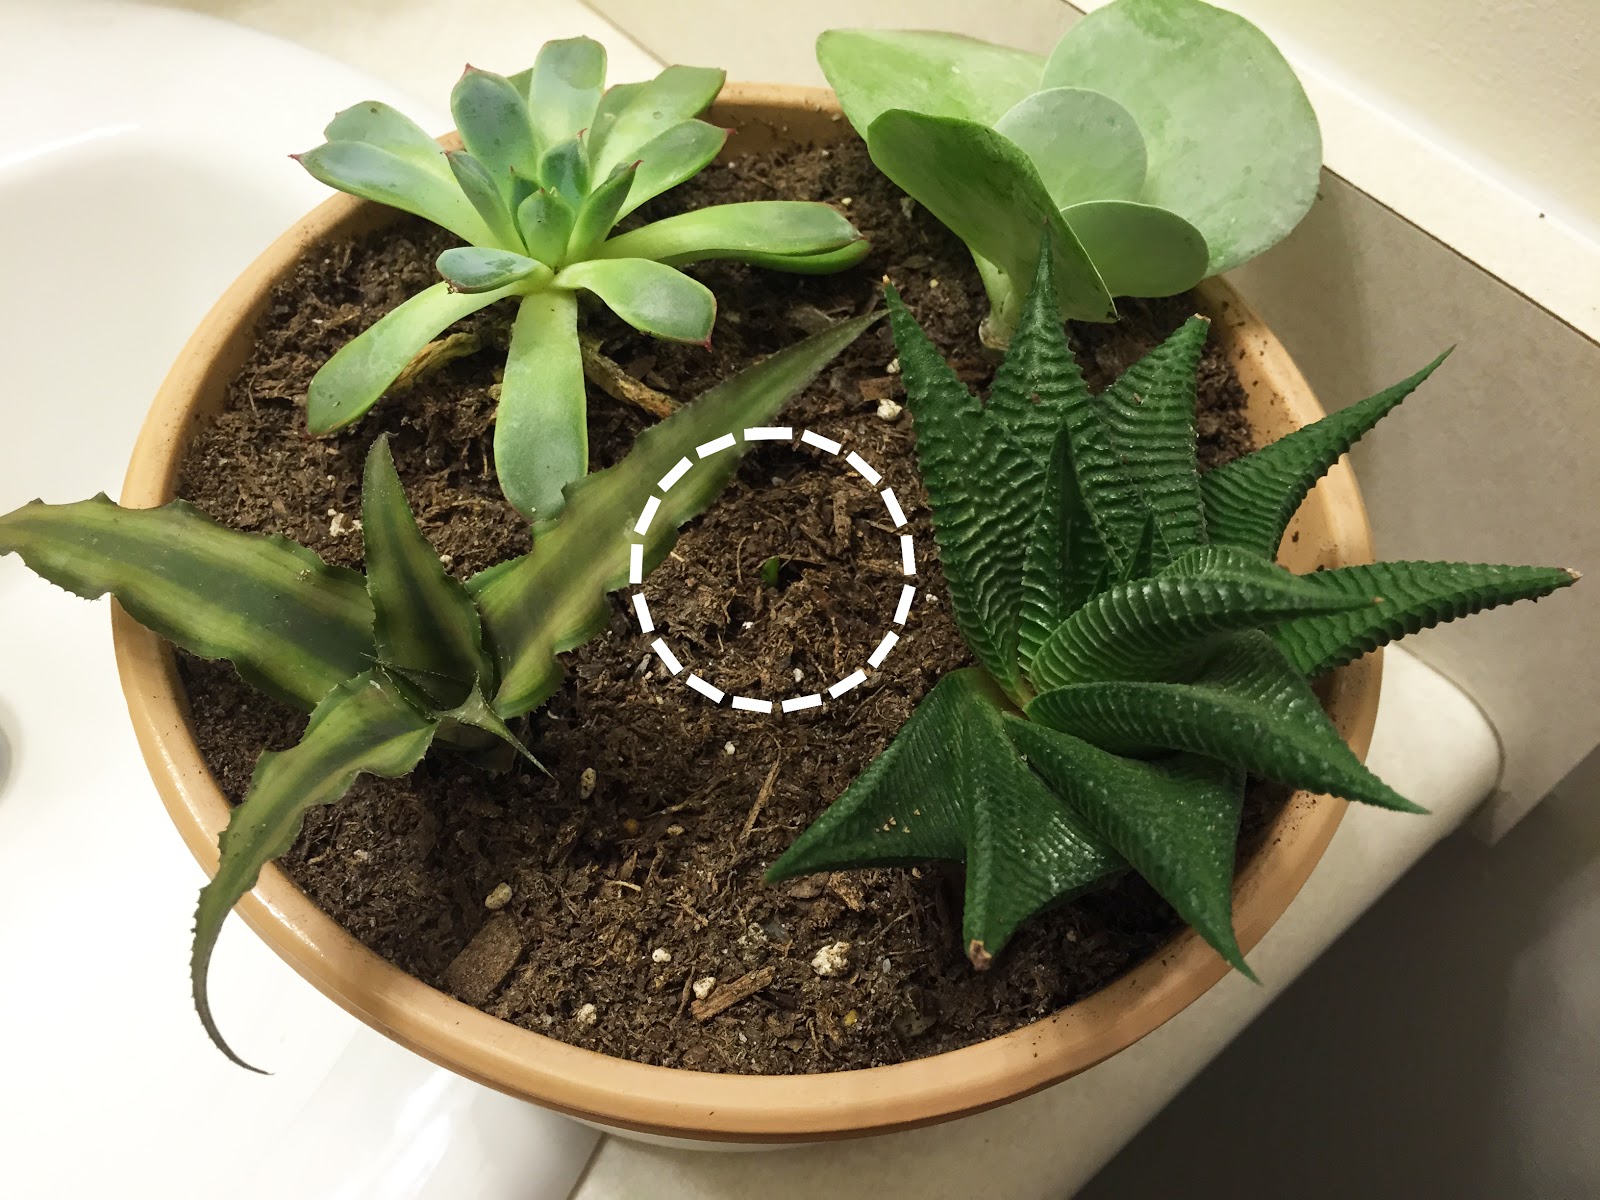
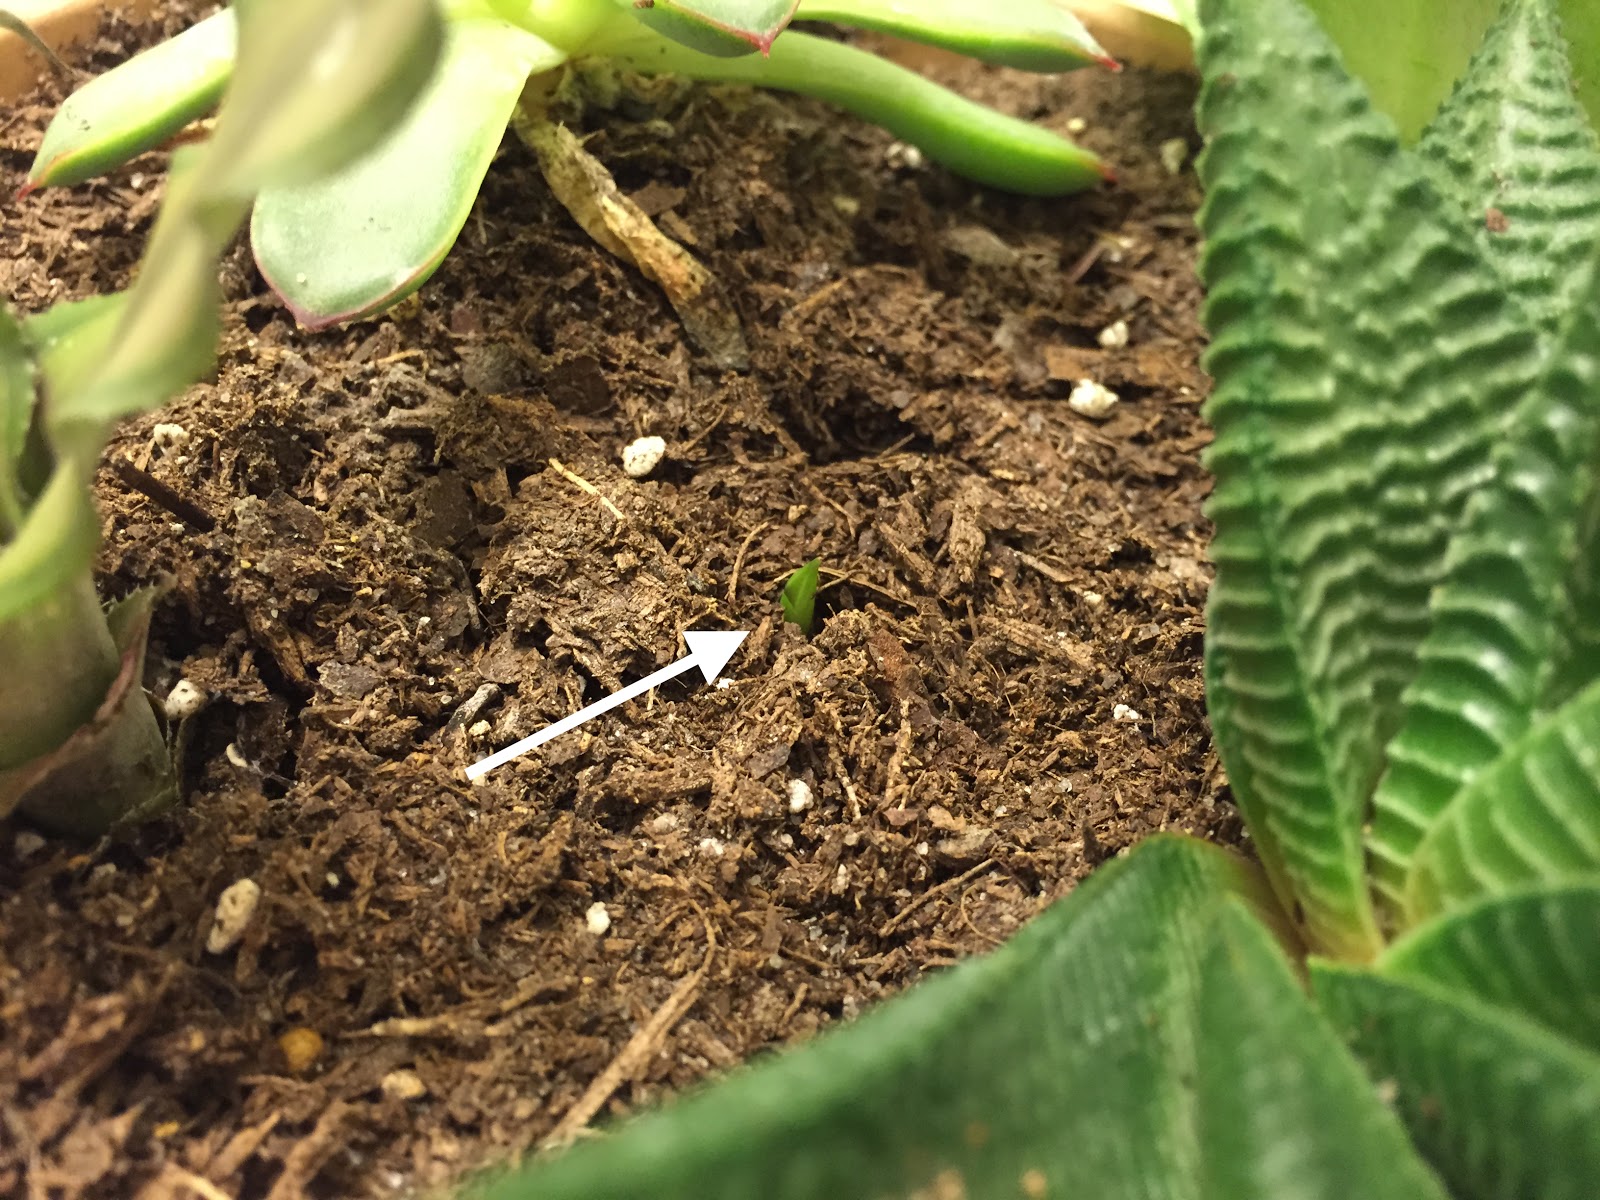
But wait! What's this? There's a tiny green sprout coming up in the very center of my succulent patch! What could it be? A mystery succulent baby!

identify succulents
But wait, what's this in the soil?
tiny succulent sprout
Mystery baby succulent coming up in the middle

My guess is that this will turn out to be a Haworthia limifolia 'fairy washboard' growing off of the roots of the other plant. The Haworthia limifolia has the largest root system of any of these succulents, which I discovered when I re-potted them. That is my best guess but time will surely tell!