This was my first year getting bulk mulch delivered rather than buying bags of mulch from Lowes. Like many homeowners, I had no idea how to estimate the number of cubic yards of mulch I would need (and I've seen neighbors end up with a mountain of mulch for just a few flower beds). I needed a way to estimate how much mulch I would need in cubic yards. The mulch website had a calculator on it, but when I added up all my bed dimensions it came out with a wacky number like 100 yards of mulch.
What worked for me, and again I'm not an expert, I went to Google Maps and used the measure tool. Right click on the map and you can create a measurement. I measured the perimeter of my mulch beds around my house and then assumed a 3 foot width of the beds for the entire length on the mulch calculator. I didn't include the mulch around the trees or other beds because I assumed the measurement of the driveway and other areas where I don't have mulch would cancel out. Maybe I got lucky, but this worked out perfectly for me with 5 yards of mulch covering my beds with none left over.
 |
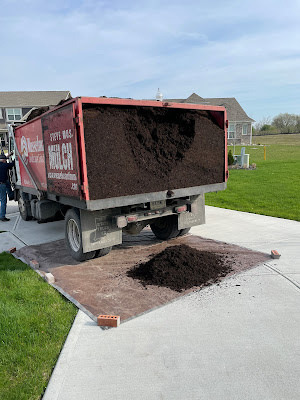
| 5 yards of mulch in a pile on the driveway |
 |
| Using Google Maps to estimate yards of mulch |
The delivery driver was a pro and got most of the mulch right in the center of the tarp. It was funny when he opened the doors the mulch was packed in and stayed in the shape of the truck. I was definitely happy I used a tarp - not because I was worried about getting the driveway dirty, but because as the pile gets smaller and more spread out, it's nice to have an easy way to pool the mulch back in the middle so it's scoopable.
I did this all by myself in a weekend and it took me about 10 hours. I think it took longer than it should have because I was carefully spreading and shaping edges as I was going instead of just quickly dumping.
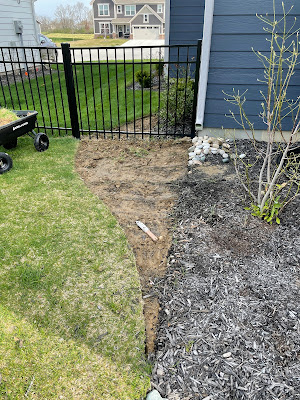
Some tools that came in extremely handy (I will never spread mulch again without them!) are a pitchfork and a heavy duty wagon. The tines on the pitchfork let it easily glide into the mulch but then the mulch clumps itself together so really it's like a shovel and the mulch doesn't really fall between the tines of the fork. The heavy duty wagon spreads the weight out over 4 wheels so it doesn't leave ruts in my lawn like a wheelbarrow would. The Gorilla Cart even has a dumping action that saved me time.
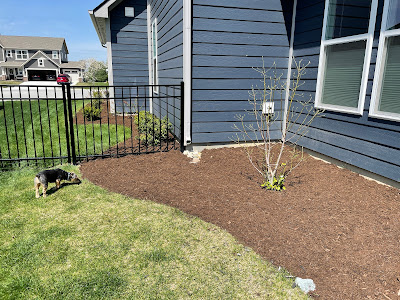
The whole thing would have gone faster if I wasn't also shaping the bed as I was going, here are some more photos:
 |
| Helleborus and holly with new mulch around them |
The downspout by my new mulch bed is the strongest current when it rains, so I wanted to extend the downspout without making it look ugly. I tried these brown downspout extenders which are pretty good - but 2 of them don't quite get me to the edge of the bed so I added rocks. It's temporary but at least now I'm not drowning my plants and washing away all the mulch.
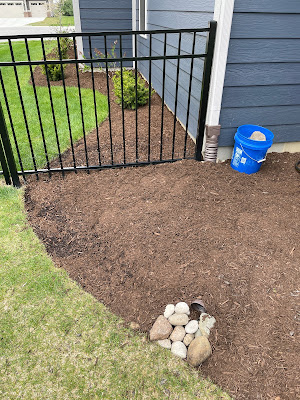 |
| Downspout extender under mulch with rocks |
No comments:
Post a Comment