Showing posts with label rocks. Show all posts

Wednesday, April 1, 2015

Moss Rock Transplant Fail

I thought I was so clever, sticking moss I got from a pathway onto a rock. At first it looked really awesome. As long as I kept the moss moist it looked like a lush zen rock just beaming away on my front walk. But then winter happened, and dryness happened.


The moss expanded and contracted as it alternated between warm and cold, moist and dry. Eventually, the blanket of moss broke apart and the wind took off a big chunk. My moss transplant has totally failed. Granted, I did transplant the moss in December - so it's not like the moss was actually growing or clinging to the rock. It was essentially a big green pad that I pressed onto the rock. It just had to fall off one day.

moss rock
There was a time when I was super optimistic about my moss transplant... but that time has passed.

Will I try it again now that the weather is warmer? I'm not sure, I might try to use the moss lower to the ground where it gets morning dew. Read more about my moss rock attempt here, and check out the inevitable conclusion below...

rock transplant moss dry
Moss rock in Spring looking pretty tragic
rock with dry moss on it
I came home on a particularly windy day to find this
landscaping rock
I decided to scrub the rock clean for a fresh start. Maybe I'll try moss again in warmer months, or maybe I'll just plant little rock garden accent plants around them.

Monday, March 16, 2015

Amending Clay Soil with Upside Down Sod and Expanding the Backyard Bed

The weather has been sunny and warm, so I'm getting a head start on my Spring landscaping projects. I want to add a huge backyard bed that will be my main full sun South-facing bed. I want to try to do it right, instead of just adding plants to the thick clay soil, I'm trying to amend the clay soil to make it a more friendly home to my future plants.


The reason I'm doing this so early is because I want to give my soil mix some time to basically decompose to create some nice soft humus or at least something softer than a clay slab. It's going to be sort of a compost pile for a month until I really get planting in April.

The clay is so thick and chunky, it forms huge ribbons and solid clay balls - I swear I could throw a vase with  this stuff. Conceptually I'm approaching it by trying to sort of marble the clay with organics - like how a steak is marbled with fat - my soil will be chunks of clay marbled with nice soft soil.

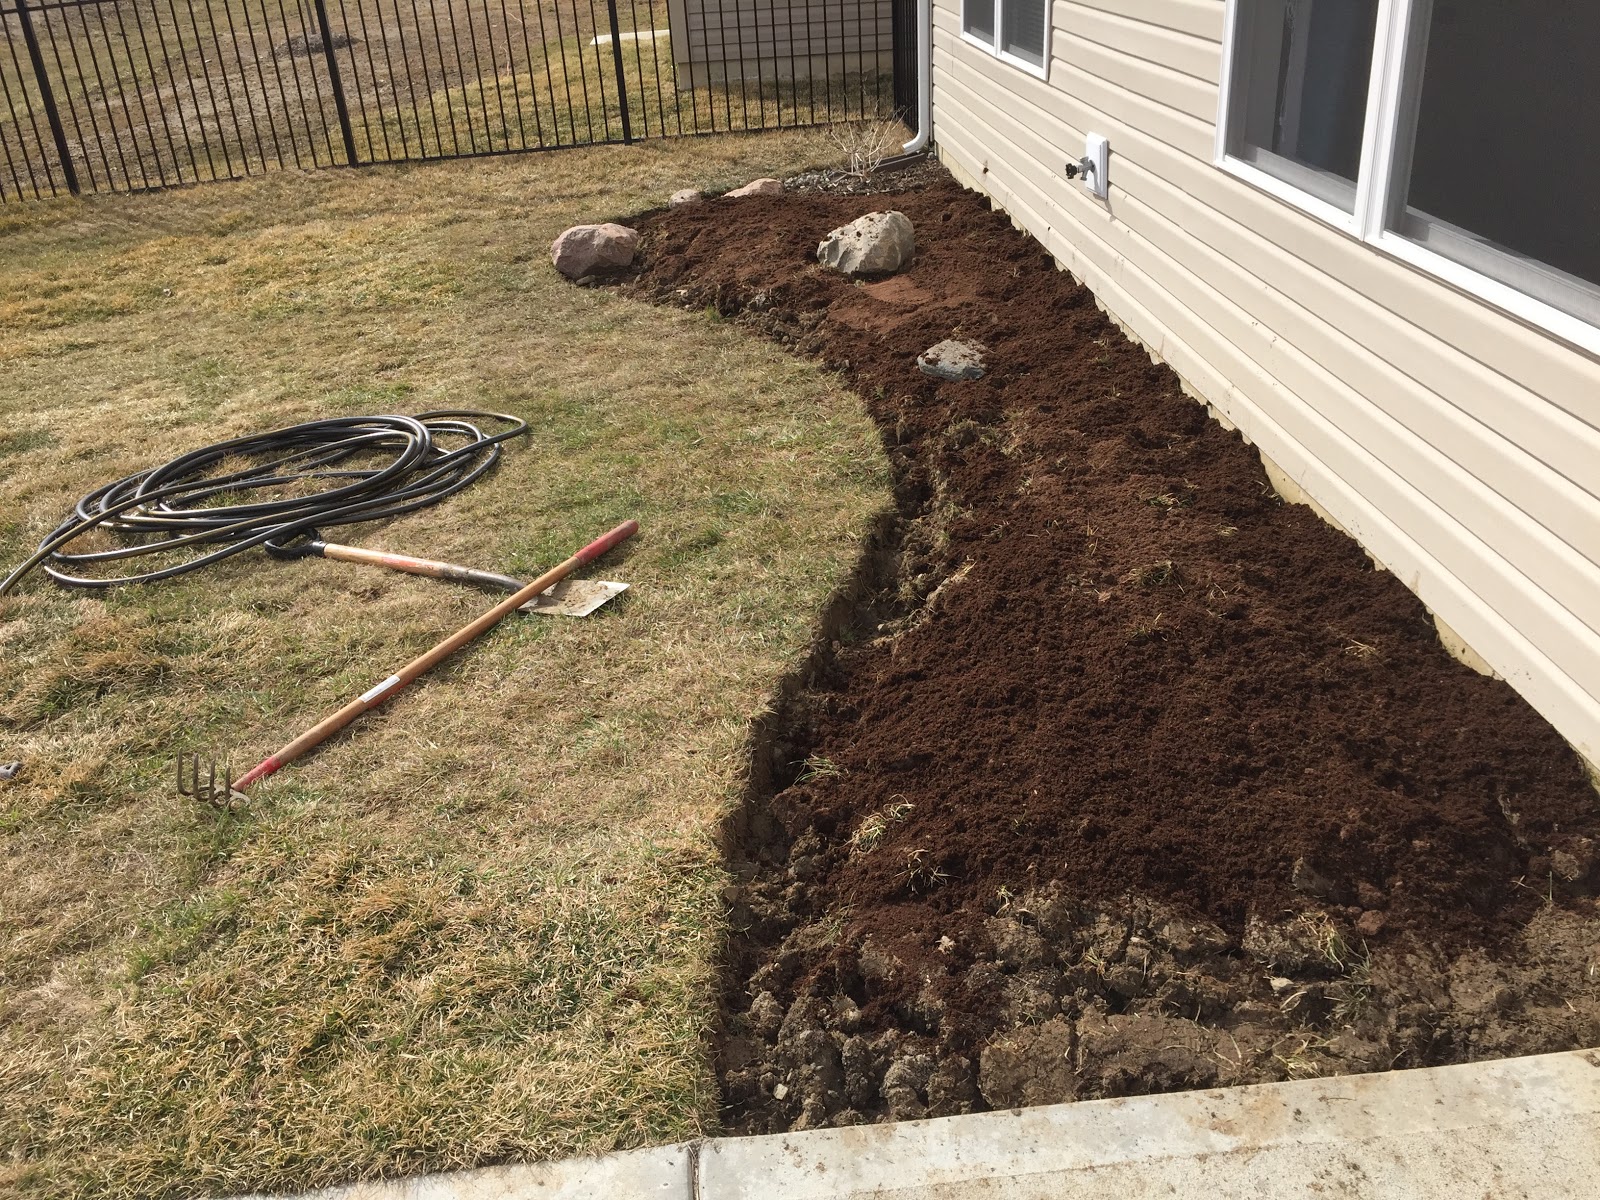
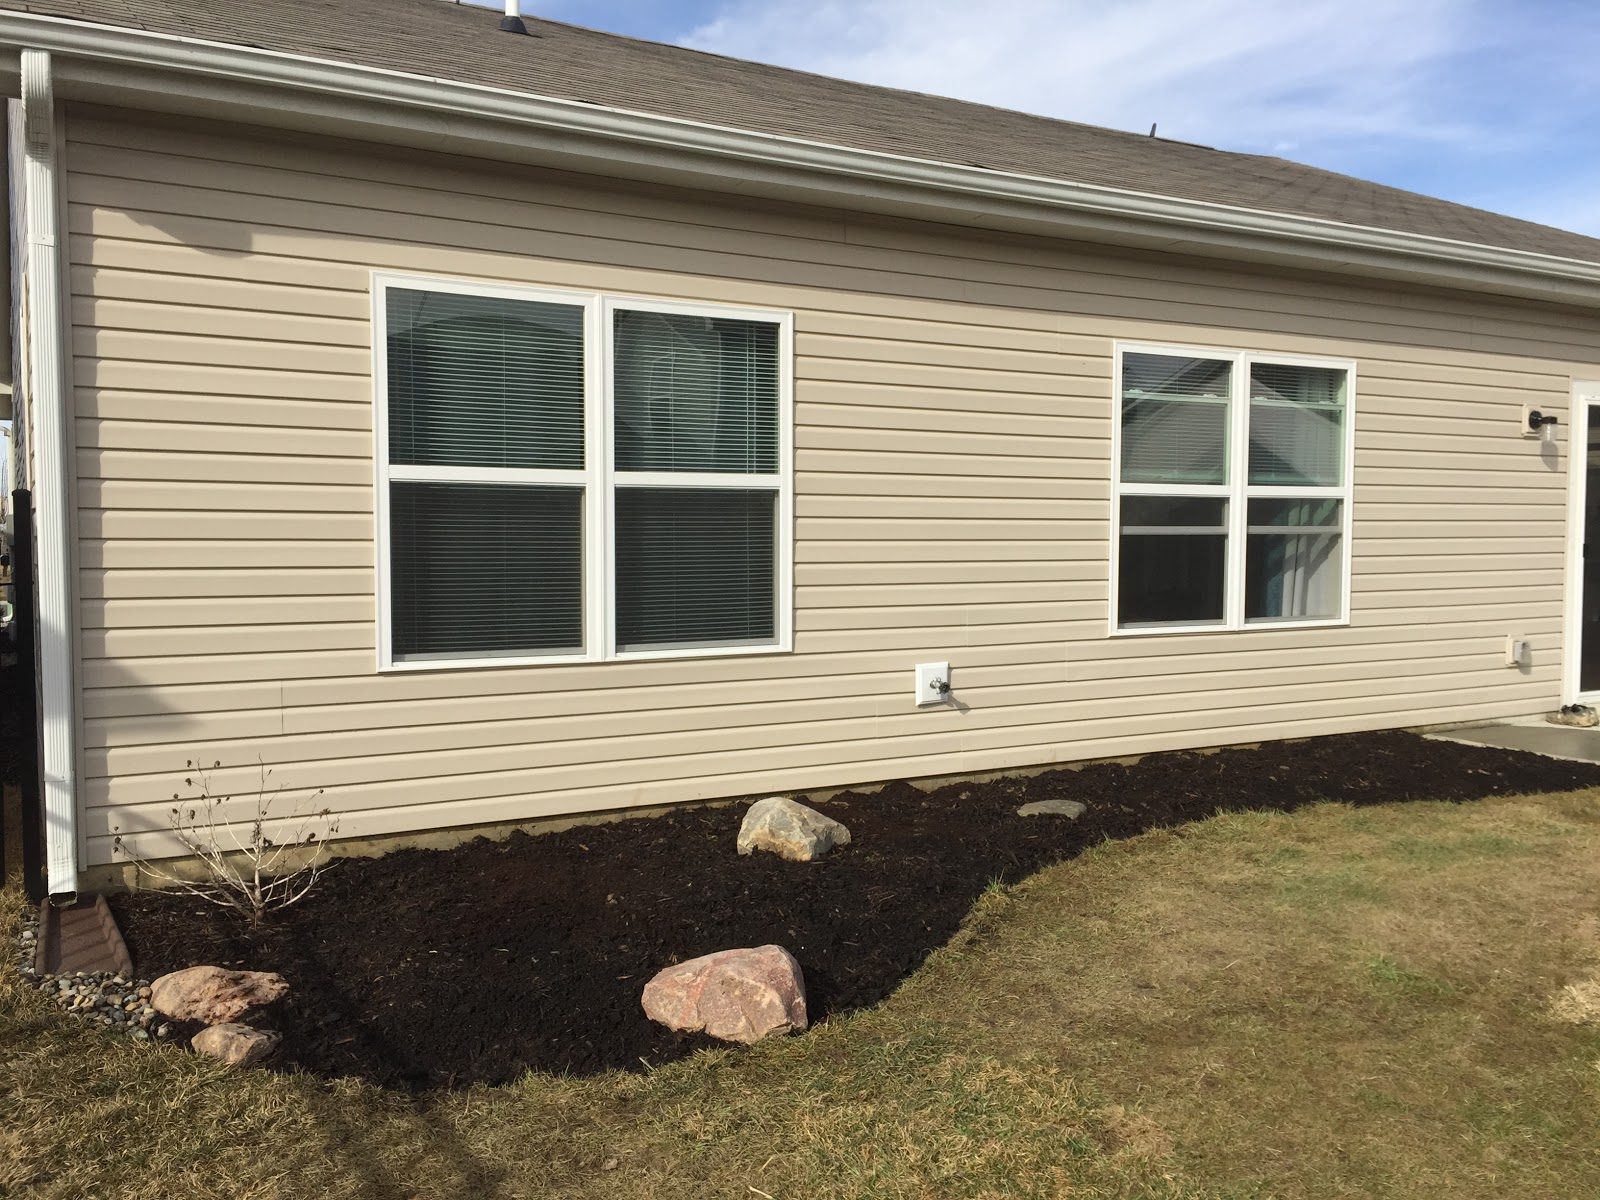
Before and after photo of my new backyard bed - my main south facing planter!


I was reading up on how to amend my clay soil, some sites recommend a variety of solutions, others suggest equal parts coarse sand and coarse organic matter (and in large quantities). I also found this extremely detailed article, and another pertaining to Indiana specifically.

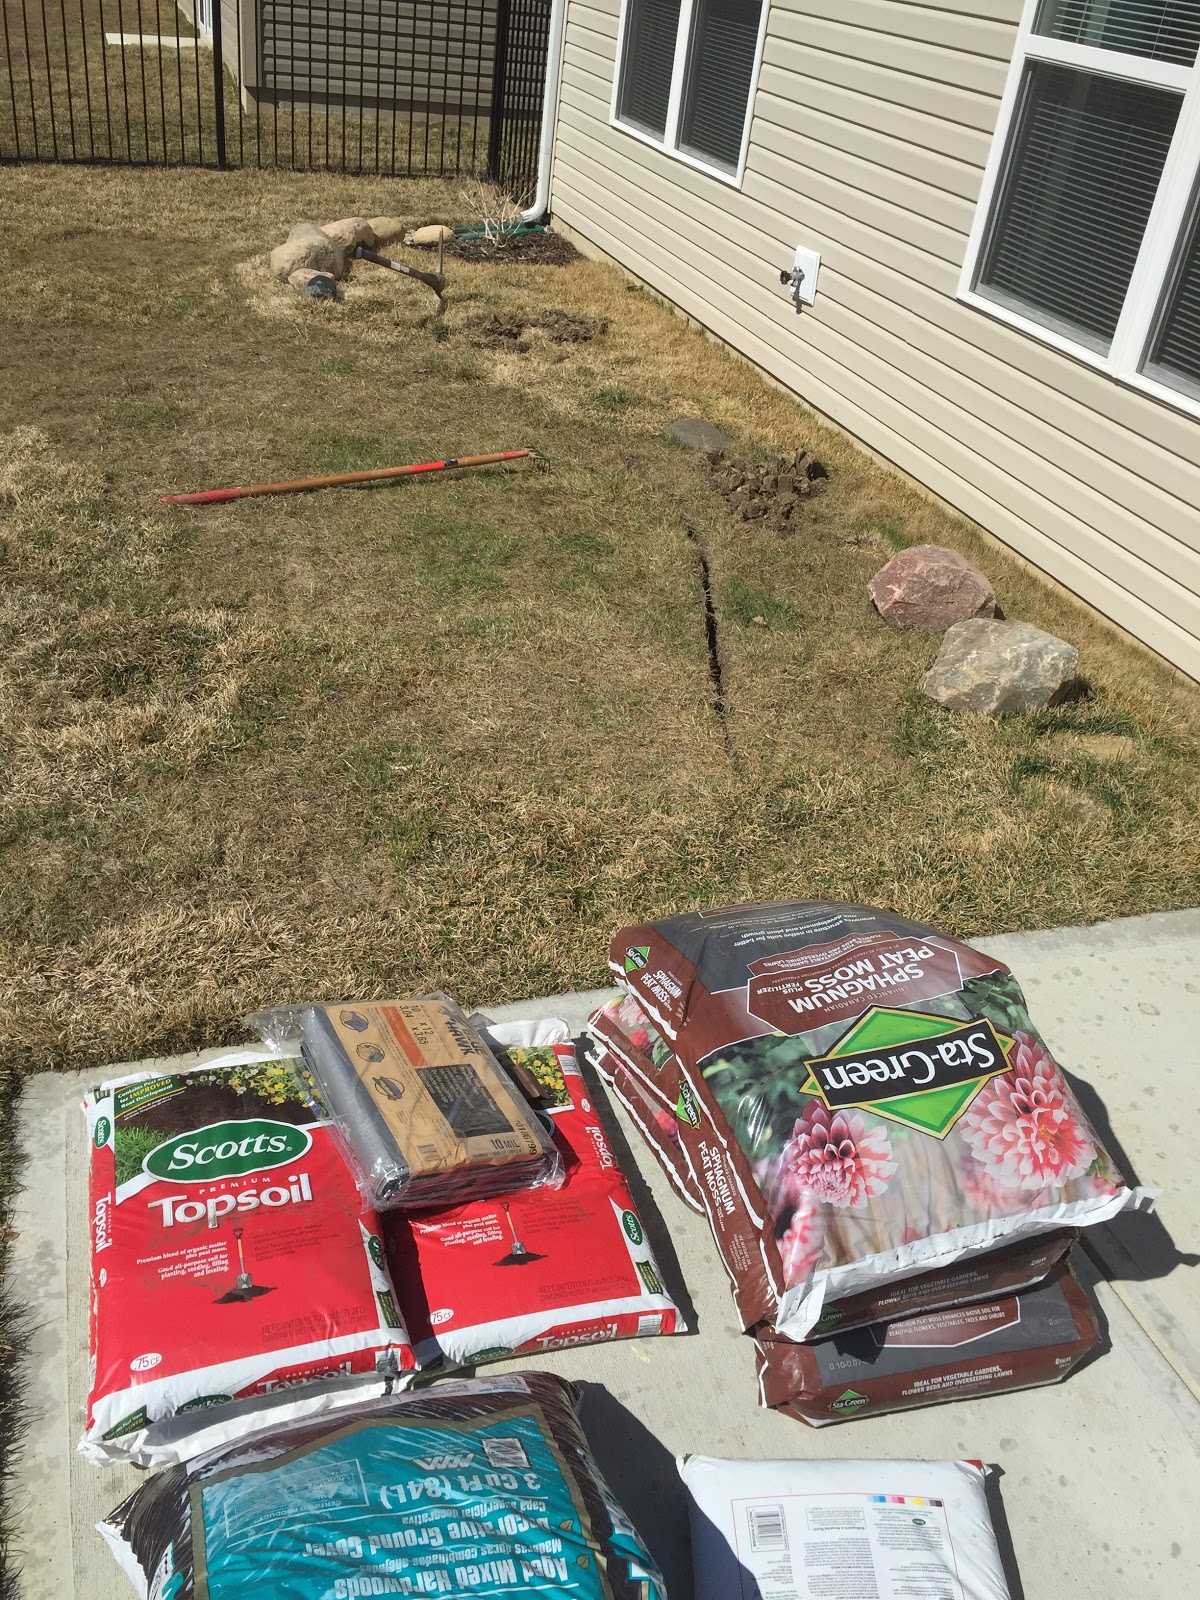
I decided to buy 3 bags of peat moss, 4 bags of topsoil, and a large bag of hardwood mulch. This was my approach:
  1. Rip up the sod layer
  2. Chop up the underlying clay slab or at least make some deep cuts
  3. Dust the clay with a thin layer of peat moss to get it marbled into the cracks
  4. Add the sod back on top face down
  5. Another layer of peat moss
  6. A layer of topsoil
  7. And finish with a dusting of hardwood mulch
  8. Water the whole thing and let it settle and decompose for a month
After my chopping and upside down sodding, I had a lot of air pockets in the bed, and the bed was significantly raised - which is fine! I'm hoping the whole thing will settle together, and I expect it to sink a little bit over the next month.

amending clay soil
Some of my topsoil from Lowe's was still frozen, but it had plenty of time to thaw in the sun while I ripped up sod. I got a new tarp to put the sod pieces on so I could add them again later face down.

Concerning the rocks, I had quite a few to pick from, and decided to add a few to compliment my lower bed - but I wanted to cool it a bit with the rocks. I got a little rock happy, and I don't want my yard to look like a rock hoarder lives here. 

clay soil with peat moss
Chunky sod face down with a dusting of peat moss, still a little more sod to add

amend clay soil with peat moss
More peat moss, Chris said he likes the dark brown color because it matches our couch pillows :)

backyard landscaping rocks
My rock placement in the back bed, with one at the edge as a hose guard for when I water the side yard. I only ended up using my very favorites rocks and now I am hesitating to throw the rest out in case I need them for something later.

backyard flower bed
The curve comes out about 7 feet at the rain spout, goes in to about 3 feet at the spigot, and goes back to 5 feet out next to the porch.
All said and done the project took me about 5 hours. I was encouraged to see quite a few worms below the sod layer, which means they're strong enough to break through the clay. I hope the upside down sod dies quickly and begins to decompose in the next month so I can plant on top of it!

blister on handback sun burn tan line


I didn't think it was possible, but through thin clouds I was able to get a nice sunburn... in Indiana... in March. Also, my soft baby hands have had it easy all winter and weren't ready for yard work, I got 2 nasty blisters, one on each hand.

Overall I'm very pleased with the shape of my backyard bed, and I can't wait to begin adding plants to fill it out. My plan is to be sensible (as sensible as possible) and add things a few at a time to hopefully cut back on the number of times I move things around.

Update 4/18/2015: Turning the sod upside down and covering it with mulch is not enough to kill the grass. This stuff is tenacious! It's sending up long tubers to scout out the surface and then grows quickly after the rain. I should have used Round-Up over the whole area first, because now I'm left trying to pull shoots and spray spot treatments of grass killer in between my new plants. 

grass growing through mulchgrass growing through mulch

Tuesday, February 10, 2015

My Rock Addiction and The One That (Almost) Got Away

One of the benefits of living in a new development surrounded by muddy lots and construction sites is that you get to pick through the "garbage" left behind by builders - including free landscaping boulders and scraps of sod. In fact, I sodded about 2/3 of my backyard with reclaimed scraps from waste piles by the curb - but that's another story.


Today I wanted to close the book on my addiction to landscaping rocks: Huntin', gatherin', rustlin', haulin', and collectin' way more rocks than I need - and the story of my last* rock haul.

collection of landscaping rocks
These are my leftover landscaping boulders, just my 'extra' ones - aka my horde!
 When we moved in the yard was completely bare, it was a dusting of top soil on top of clay with a pear tree in the back (yuck) and no landscaping at all. Looking down the street, the other lots were either empty fields, dirt patches, or homes at various stages of construction. Boulders dotted the side of the road, pushed aside from the construction. That's when it started...

rock in yard through screen
My first rock from the lot next door... it's so cute! I want more!
Not only did I like looking for rocks, I liked collecting them, hauling them in buckets and hording them in my garage. I figured I would get enough to use in my landscaping - free boulders for a feature in the backyard. Did I have enough? I could always use more. I put them in the front yard too.

front walkway with rocksrock accent in landscaping

My collection in the garage was growing, and soon I had enough to build two little retaining walls in the back.

rock collection in garage
Growing collection in my garage. That big one in the middle is now my moss rock in the front! I had to get more... more!

landscaping rockslandscaping rocks

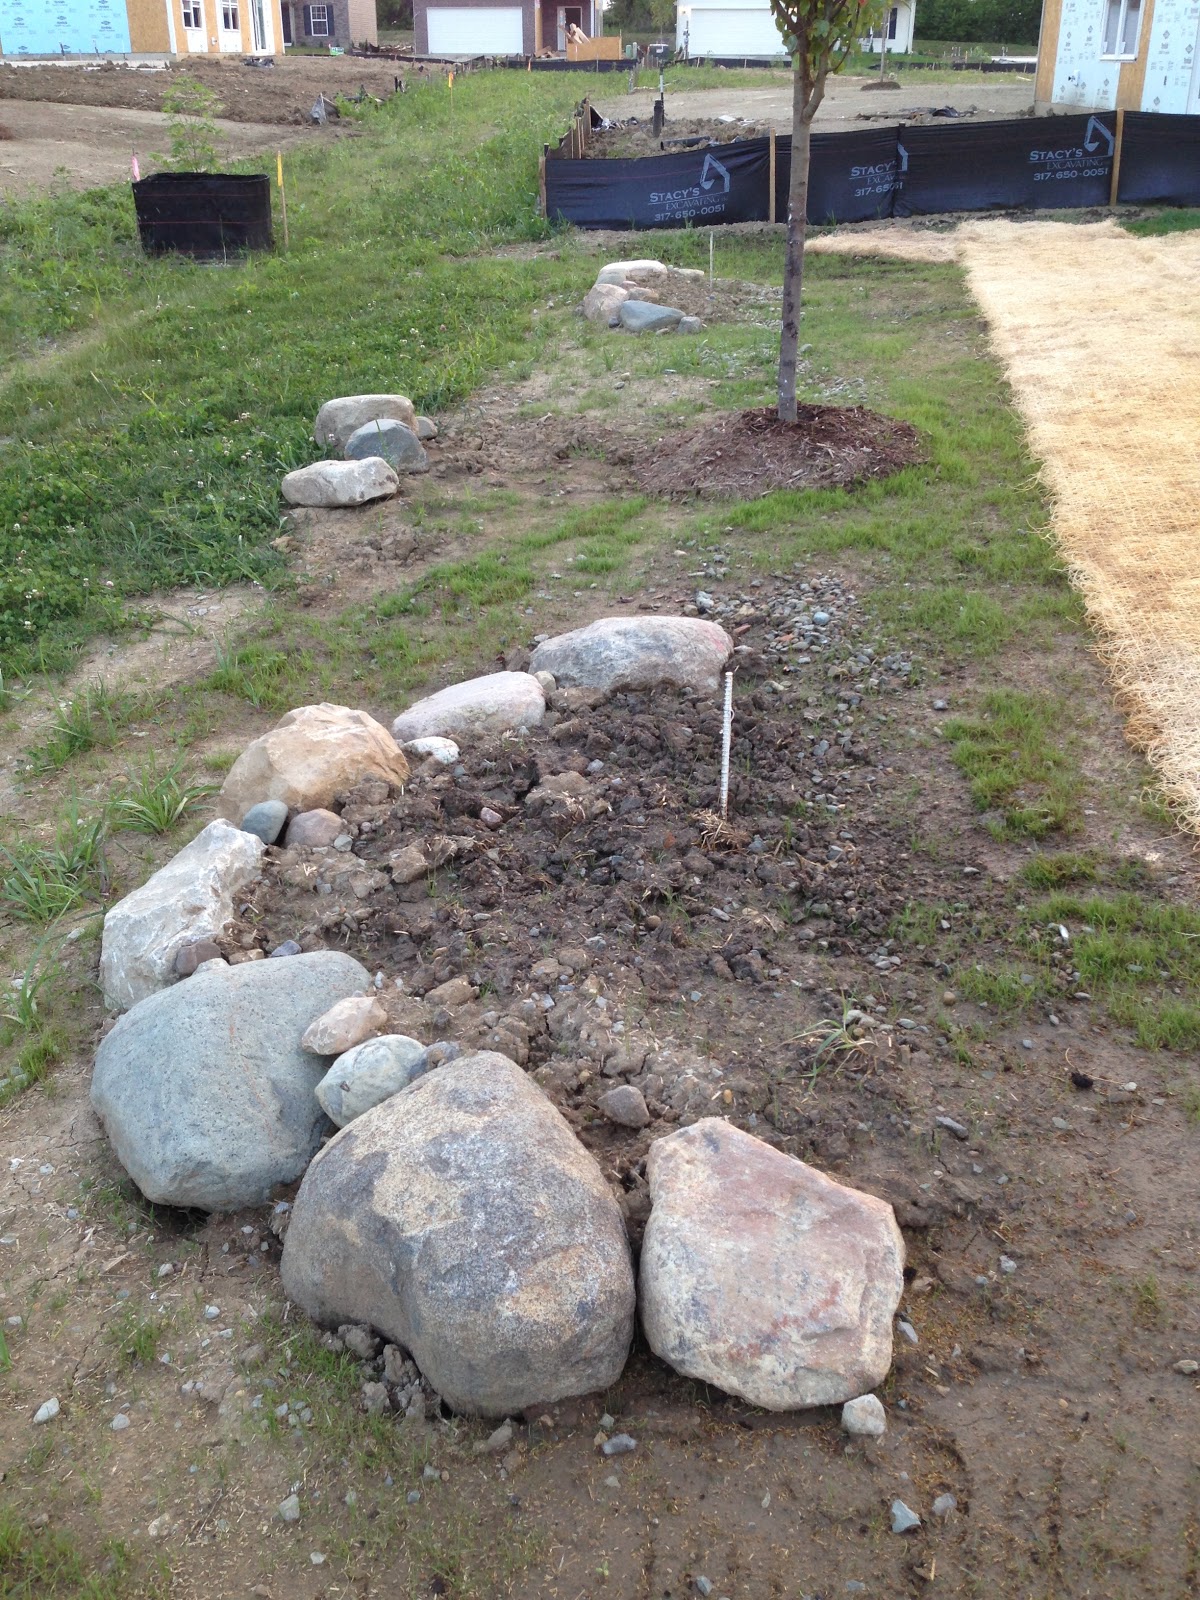
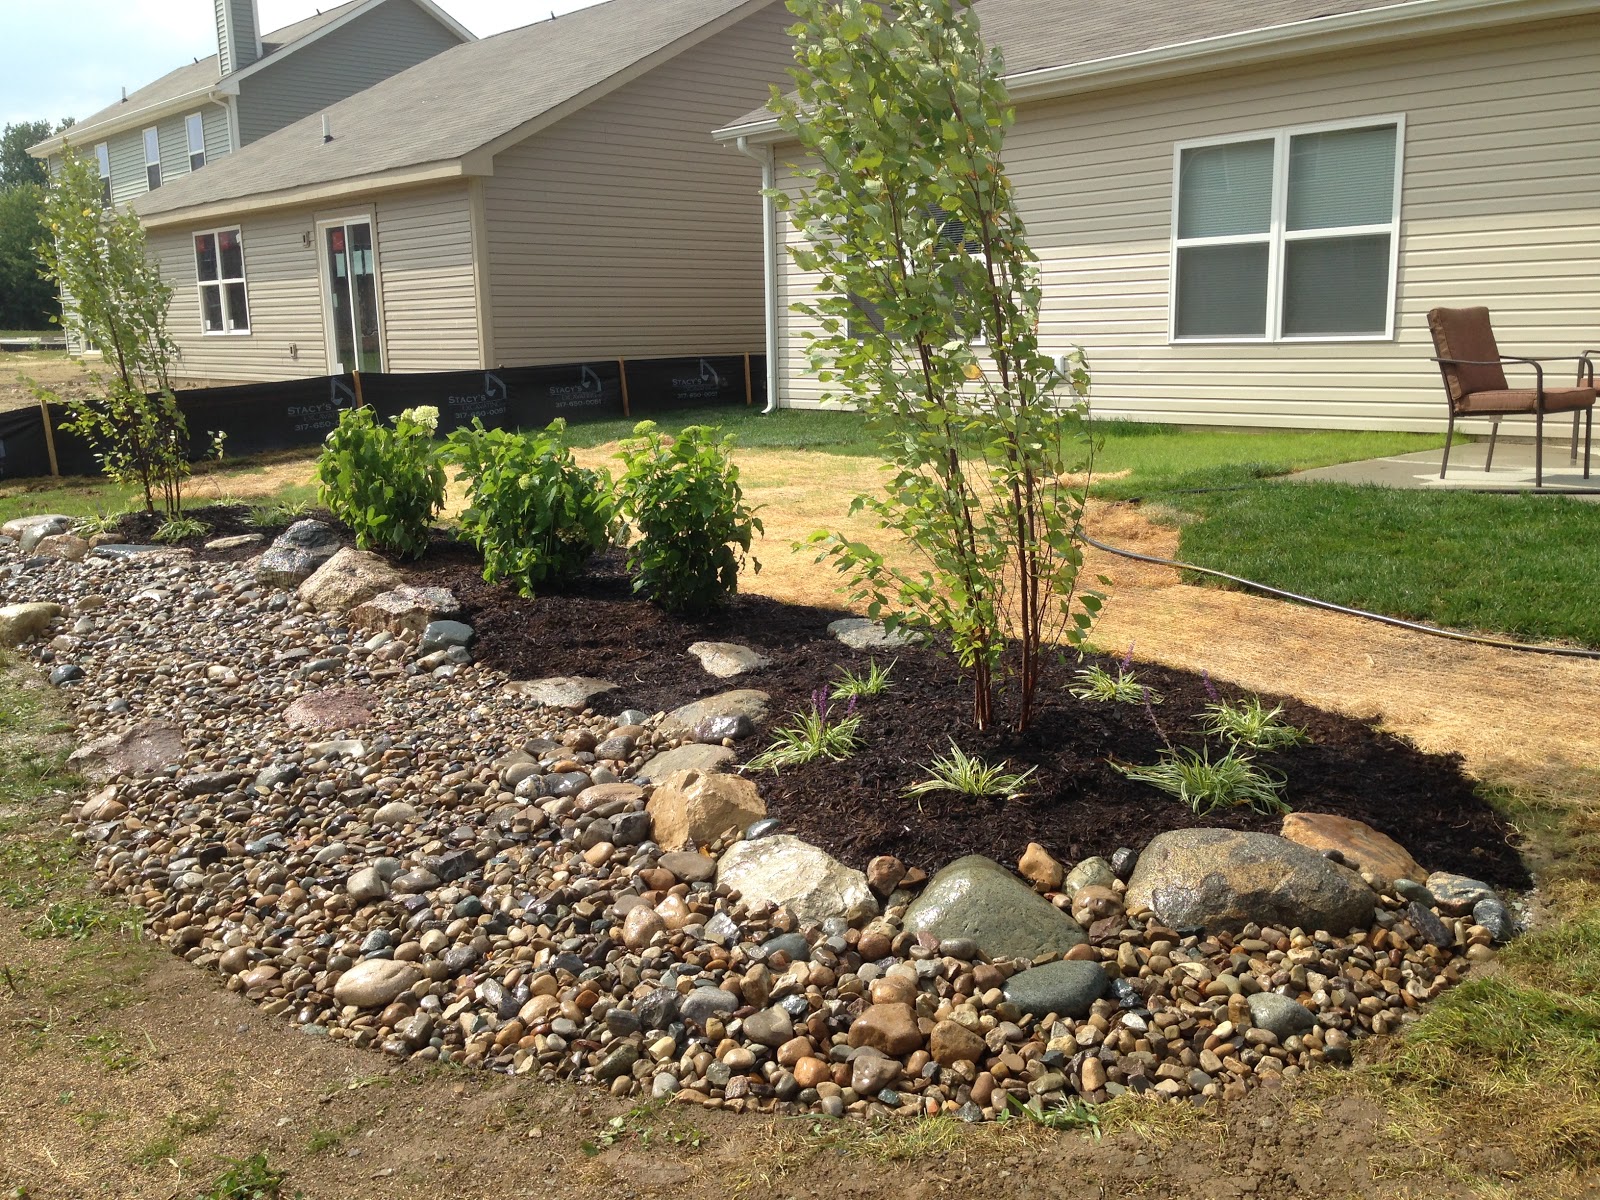
Next I guess you could say I went ALL IN with a truck load of large cobble stones to make a dry riverbed. I can hear the future realtor now... "why did they decide to put a rock pile in the back?" I'll cross that bridge when I come to it, but for now it's my dry riverbed (and it's a hit with my nephews who like to play in the rocks).

backyard rock landscapingbackyard rock landscaping

My peanut shape feature in the back is so big you can see it on Google Earth. It's my own personal wilderness!

rock on dolly
My favorite rock rustlin' tool, the two wheeled dolly. This is the biggest rock I got using this method, and this one now sits in the bottom corner of my yard next to my hardy pampas grass.


So you would think I had enough rocks, right? Well, there was this ONE rock that I hadn't gotten yet. I noticed a kidney bean shape of pink and orange granite poking through the mud. I kept eyeing it every time I drove past. I walked the dog near it on purpose just to go case the scene. I wanted that rock, I had to have it.
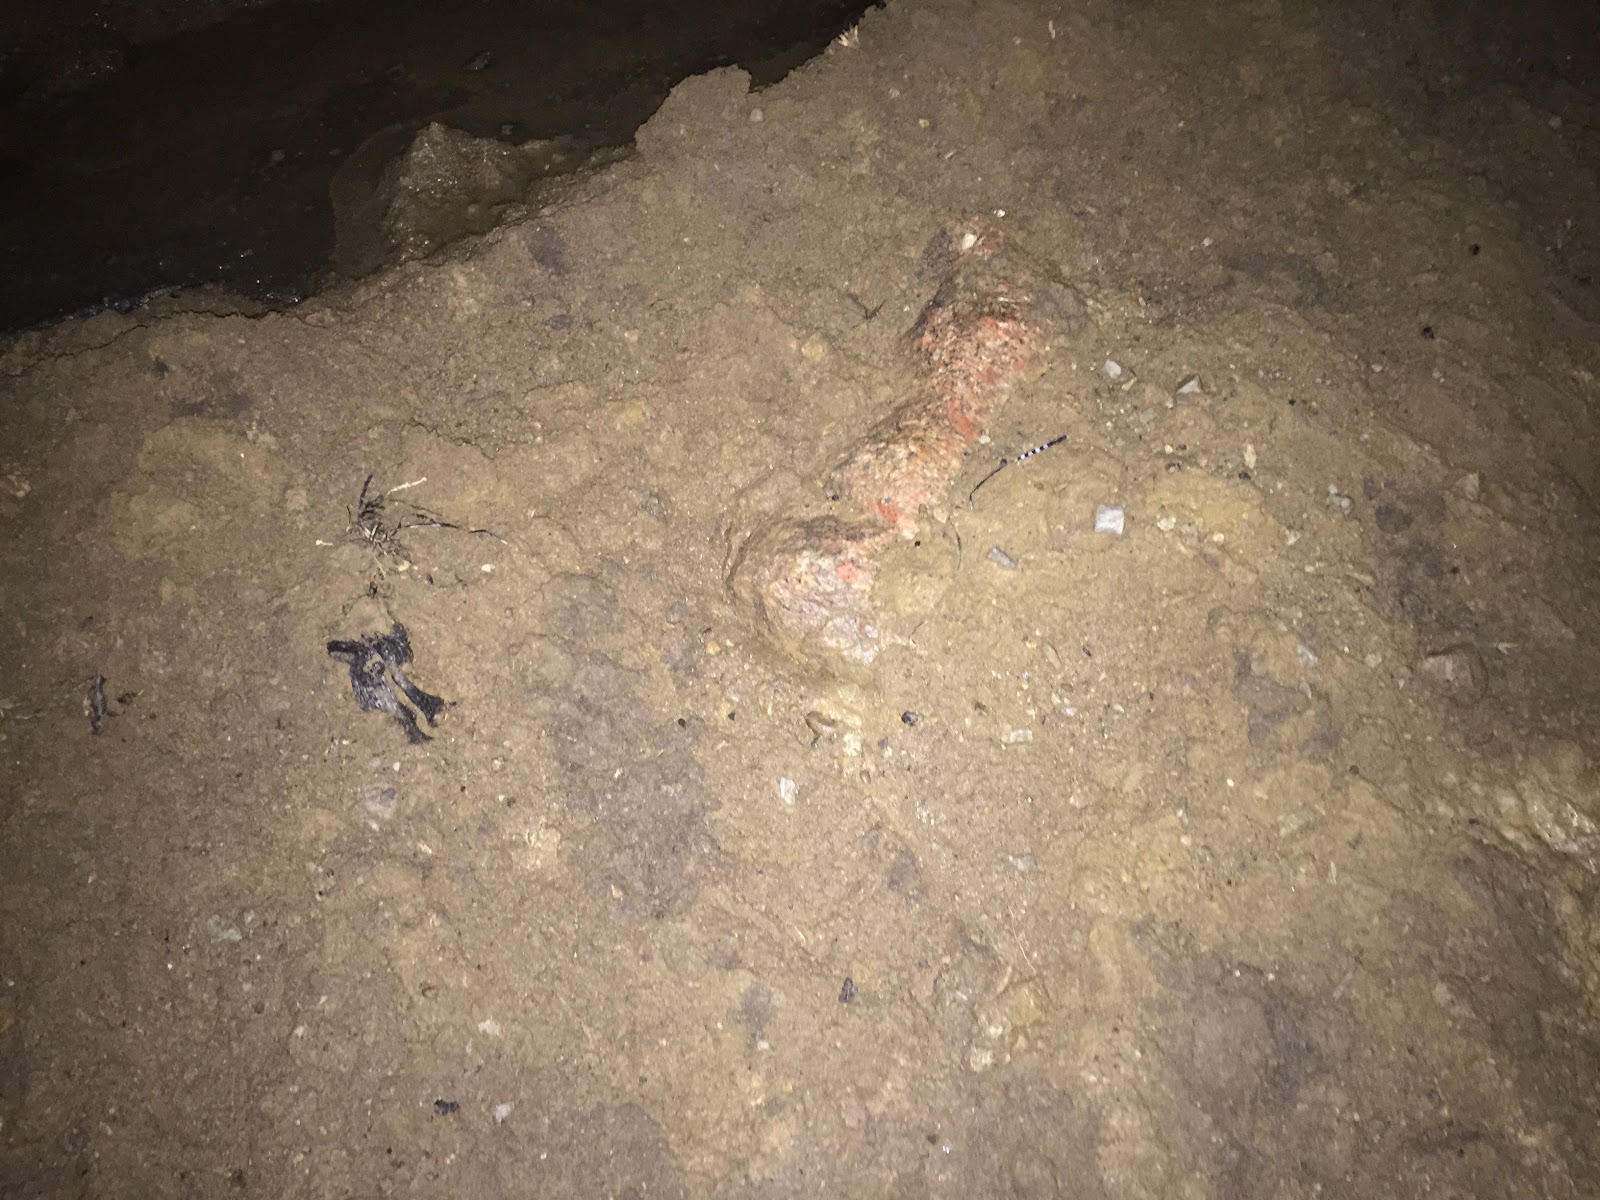
rock in mud
Granite peaking through the mud... taunting me, I had to have it!
I took advantage of the 50°F weather and went to check it out at about 12:30am. The ground was pure slop and the rock was about 6 feet off the road, just out of reach to stand on the solid curb. I went home to plan my strategy. I put grocery bags over my shoes planning to sink into the ground when I went for it. I brought a shovel and made my way to the rock.

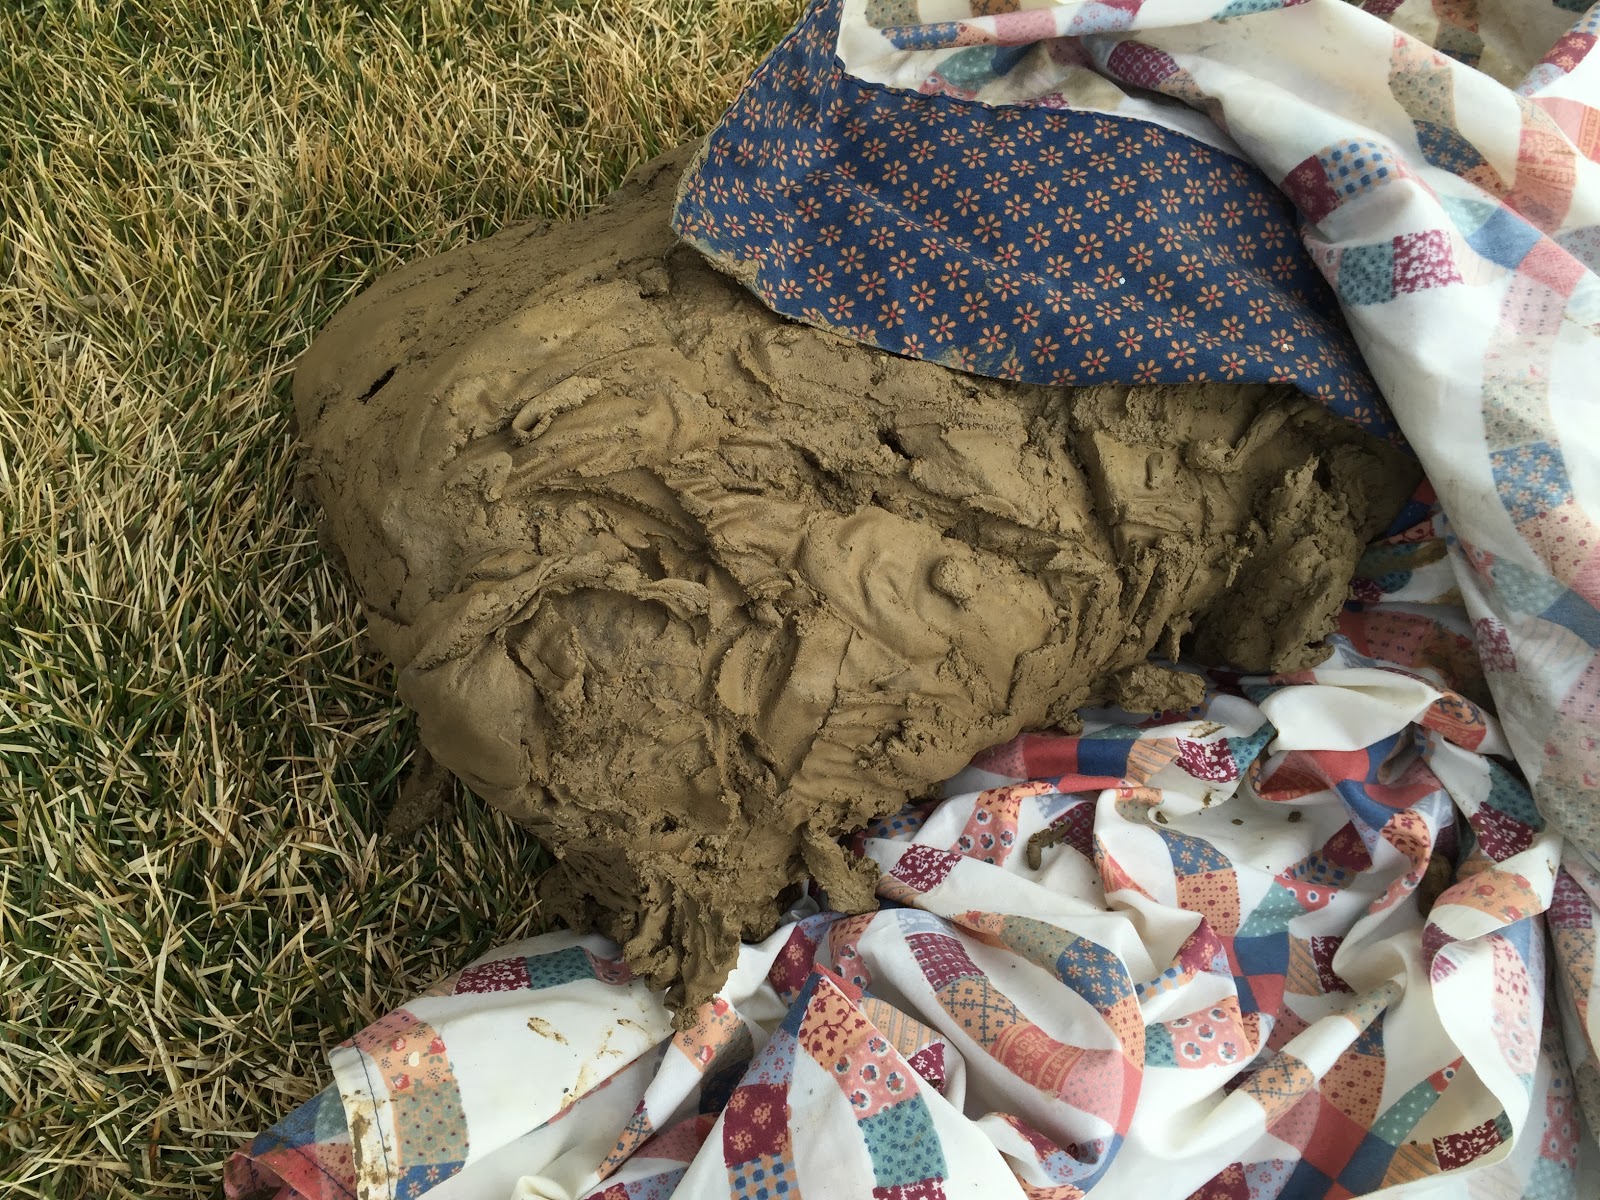
I felt like a HUGE creep walking around the new section of the development with a spade and a head lamp in the middle of the night. I was hoping that no cars would pass while I was doing the deed, but unfortunately 2 cars went by, probably wondering what the heck I was doing digging away in the middle of the night. The sloppy clay kept sucking the rock back into the ground. I could tell it was a manageable size, but it was suctioned in place. I went for it with both hands and rolled the rock toward the curb. Like a snowball, it gathered a layer of clay all around it as I rolled it.

I went home and got a blanket and my trusty rock rustlin' plastic tub. I wrapped the rock in the blanket and put it in the tub. I had about 100 yards to carry it home, and had to stop 3 times on the way. My guess would be the rock weighed about 100-120 lbs. I put it down on the sidewalk a few houses and and ran back for my dolly to get it home the last bit.
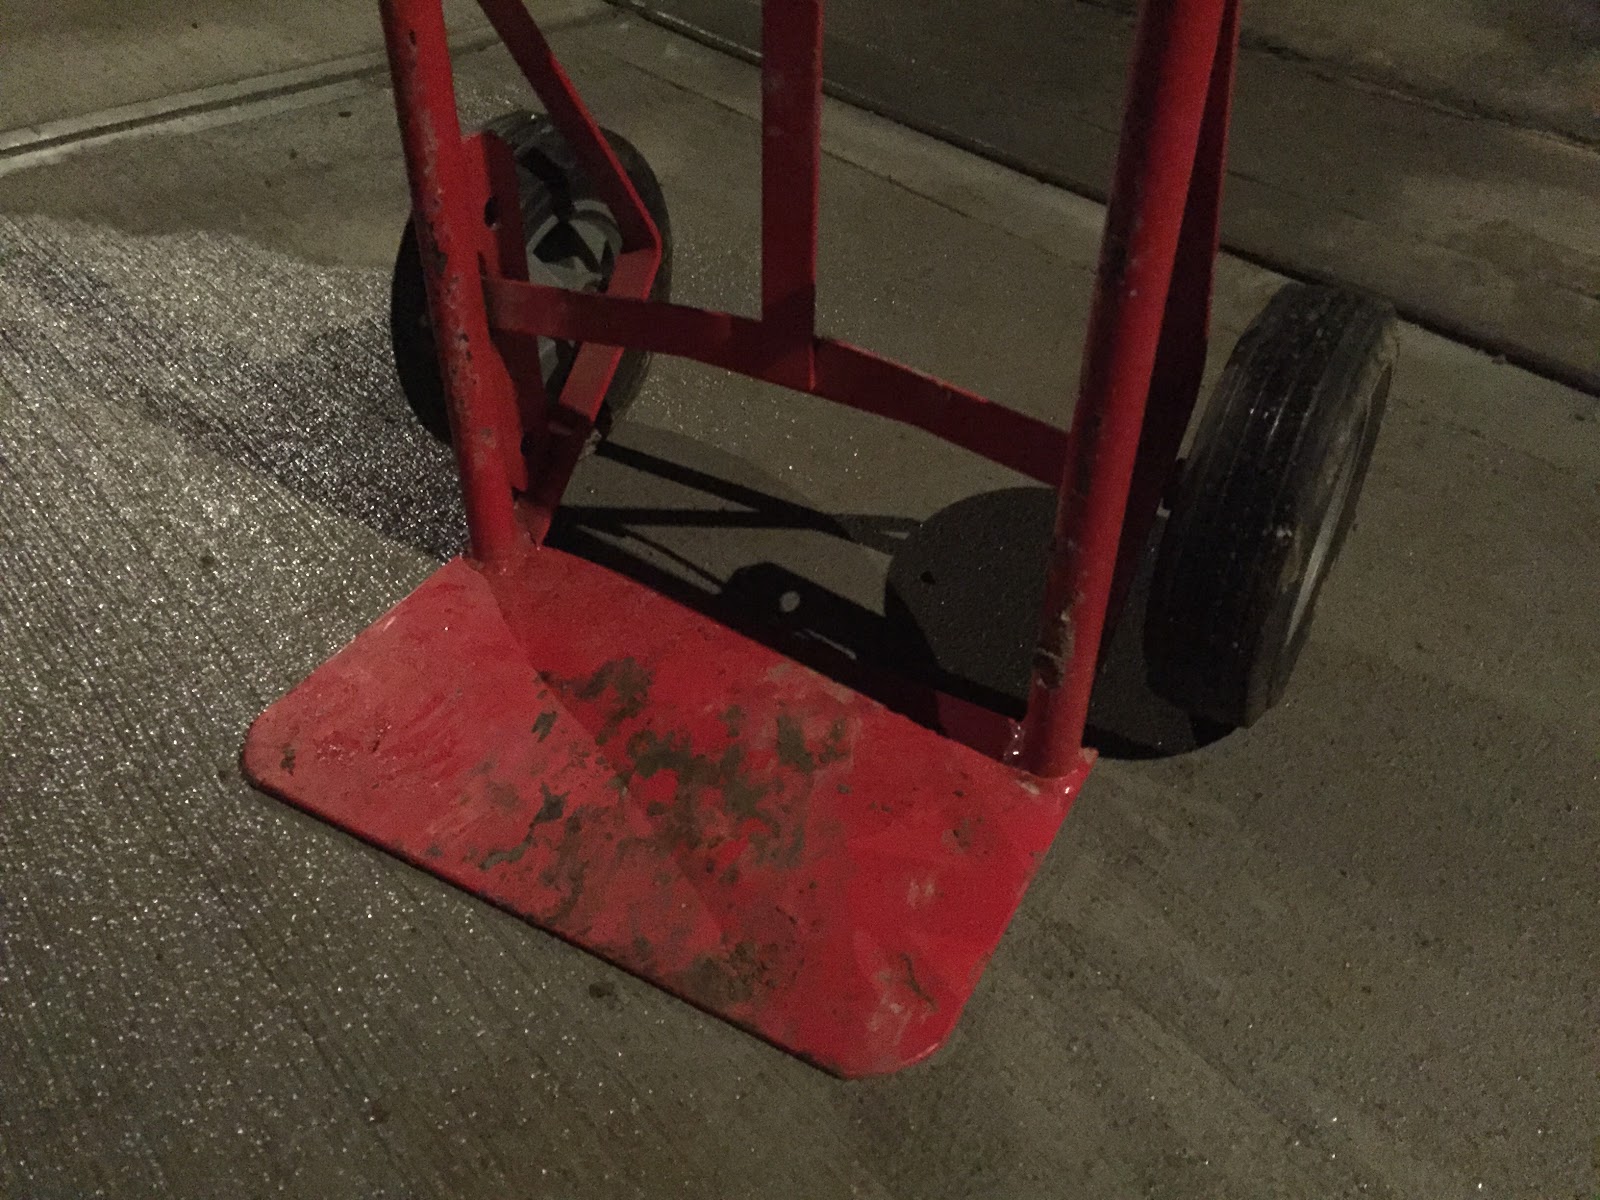
muddy 2 wheel dolly
My trusty rock rustlin' dolly

muddy ring
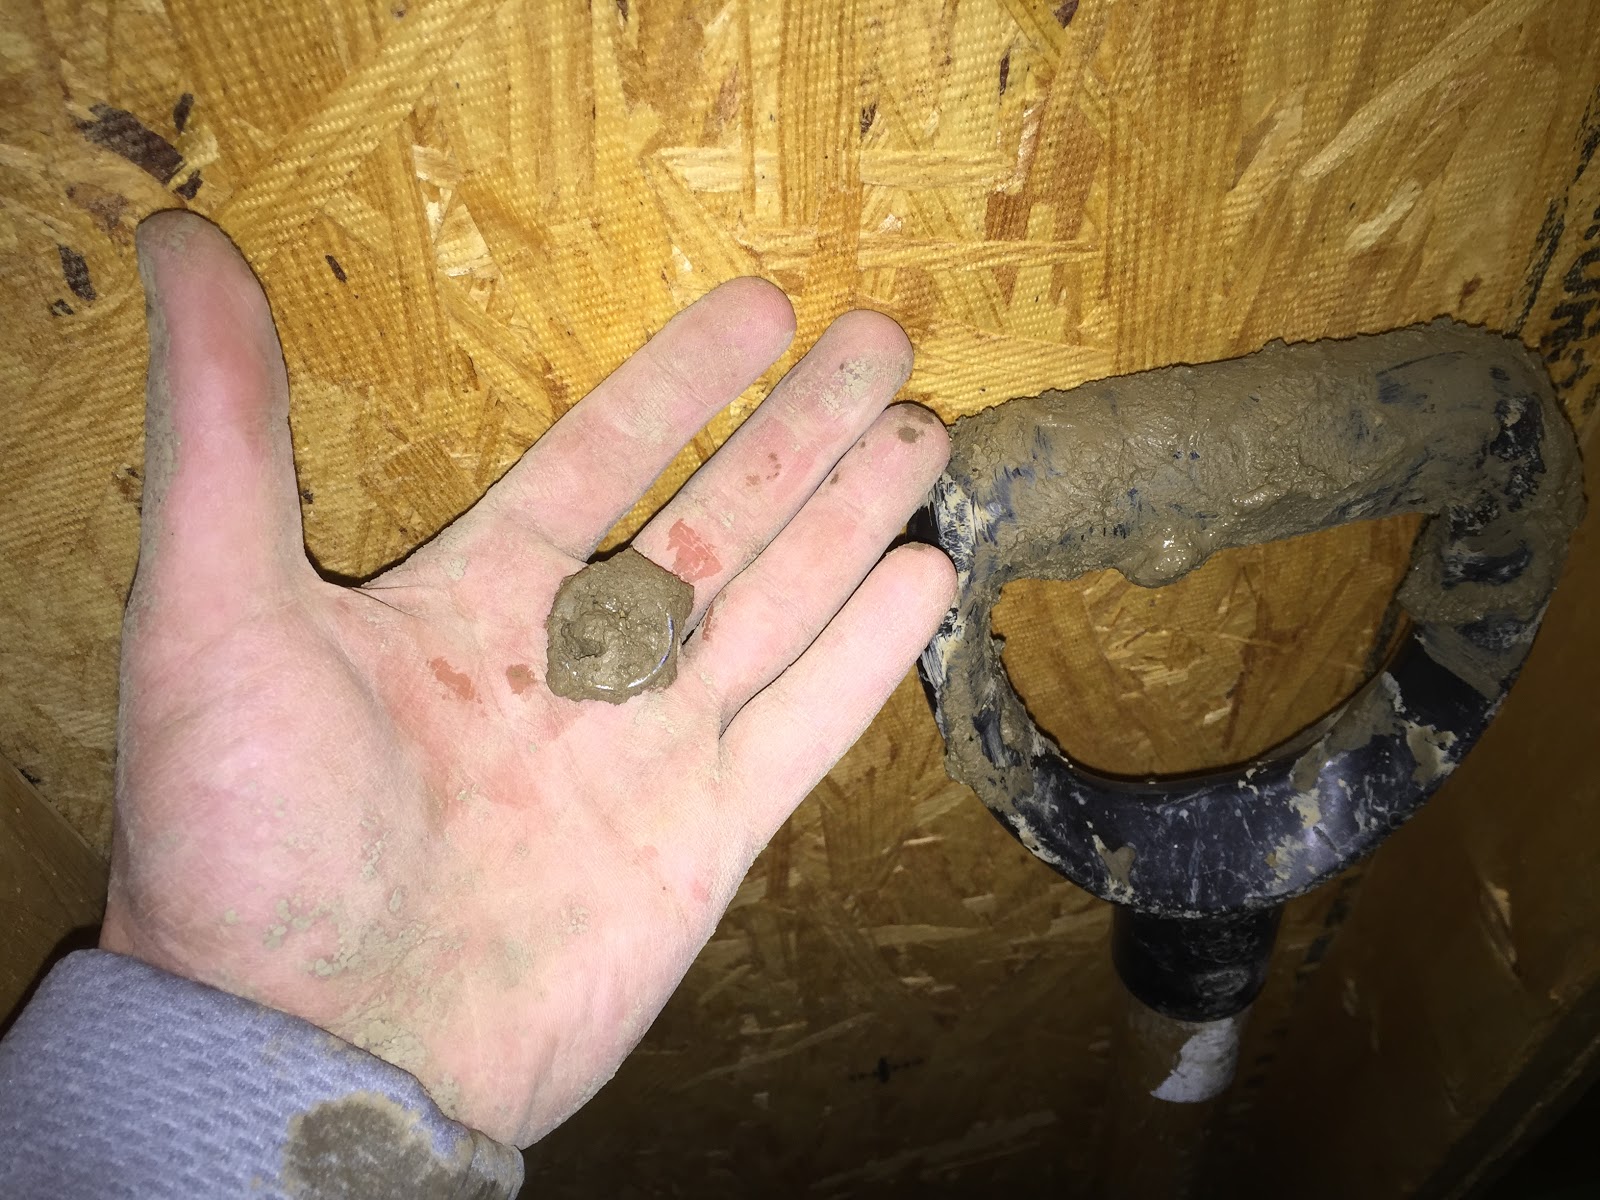
My wedding ring looks like the one ring from lord of the rings completely covered in a ball of clay. My spade fared worse, completely coated in about 10 lbs of clay from handle to head.

I felt so bizarre, like I had a severed head in a box. Creepiness aside, I was also excited to be in possession of THE rock that I had been eying for literally months.
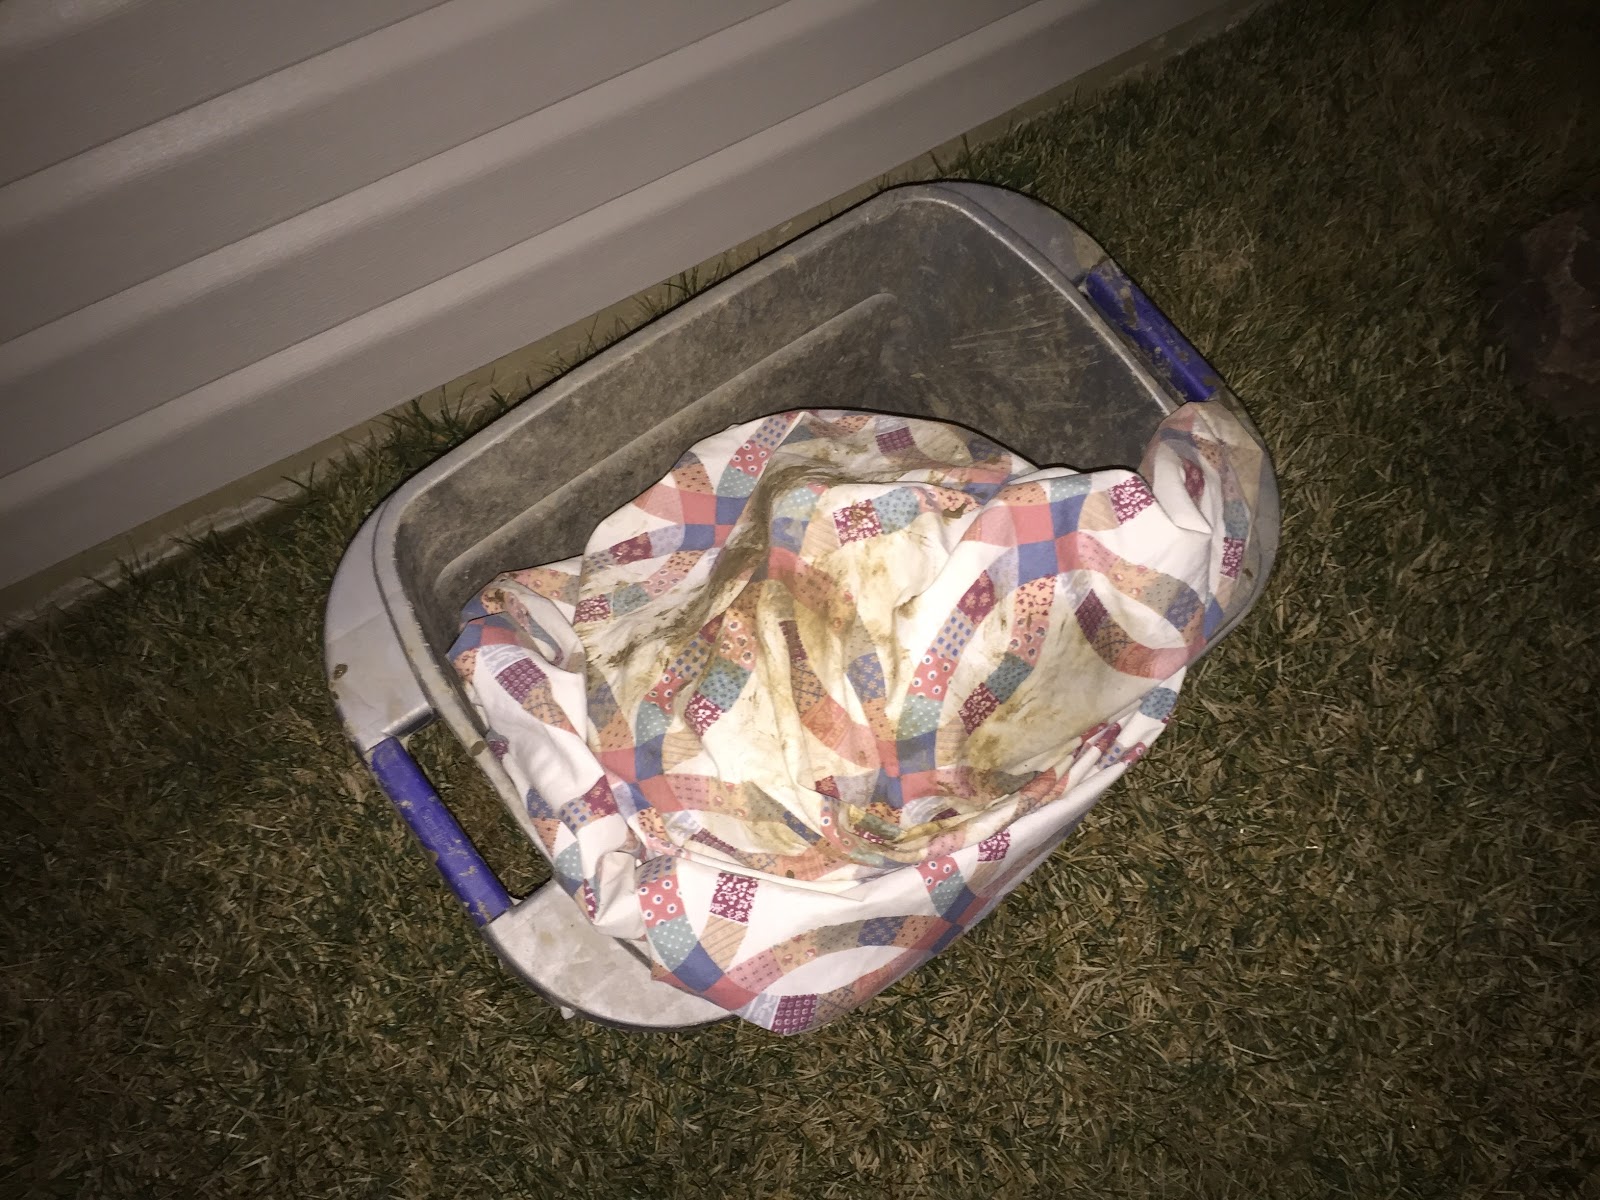
hauling large rock in tub with blanket
My prize, is it a severed head or a landscaping boulder? I'll have to wait until morning to find out
I woke up like a kid on Christmas morning, excited to clean my rock and see if it was a gem or a lump. The clay was unfathomable!

thick clay on rockthick clay on rock

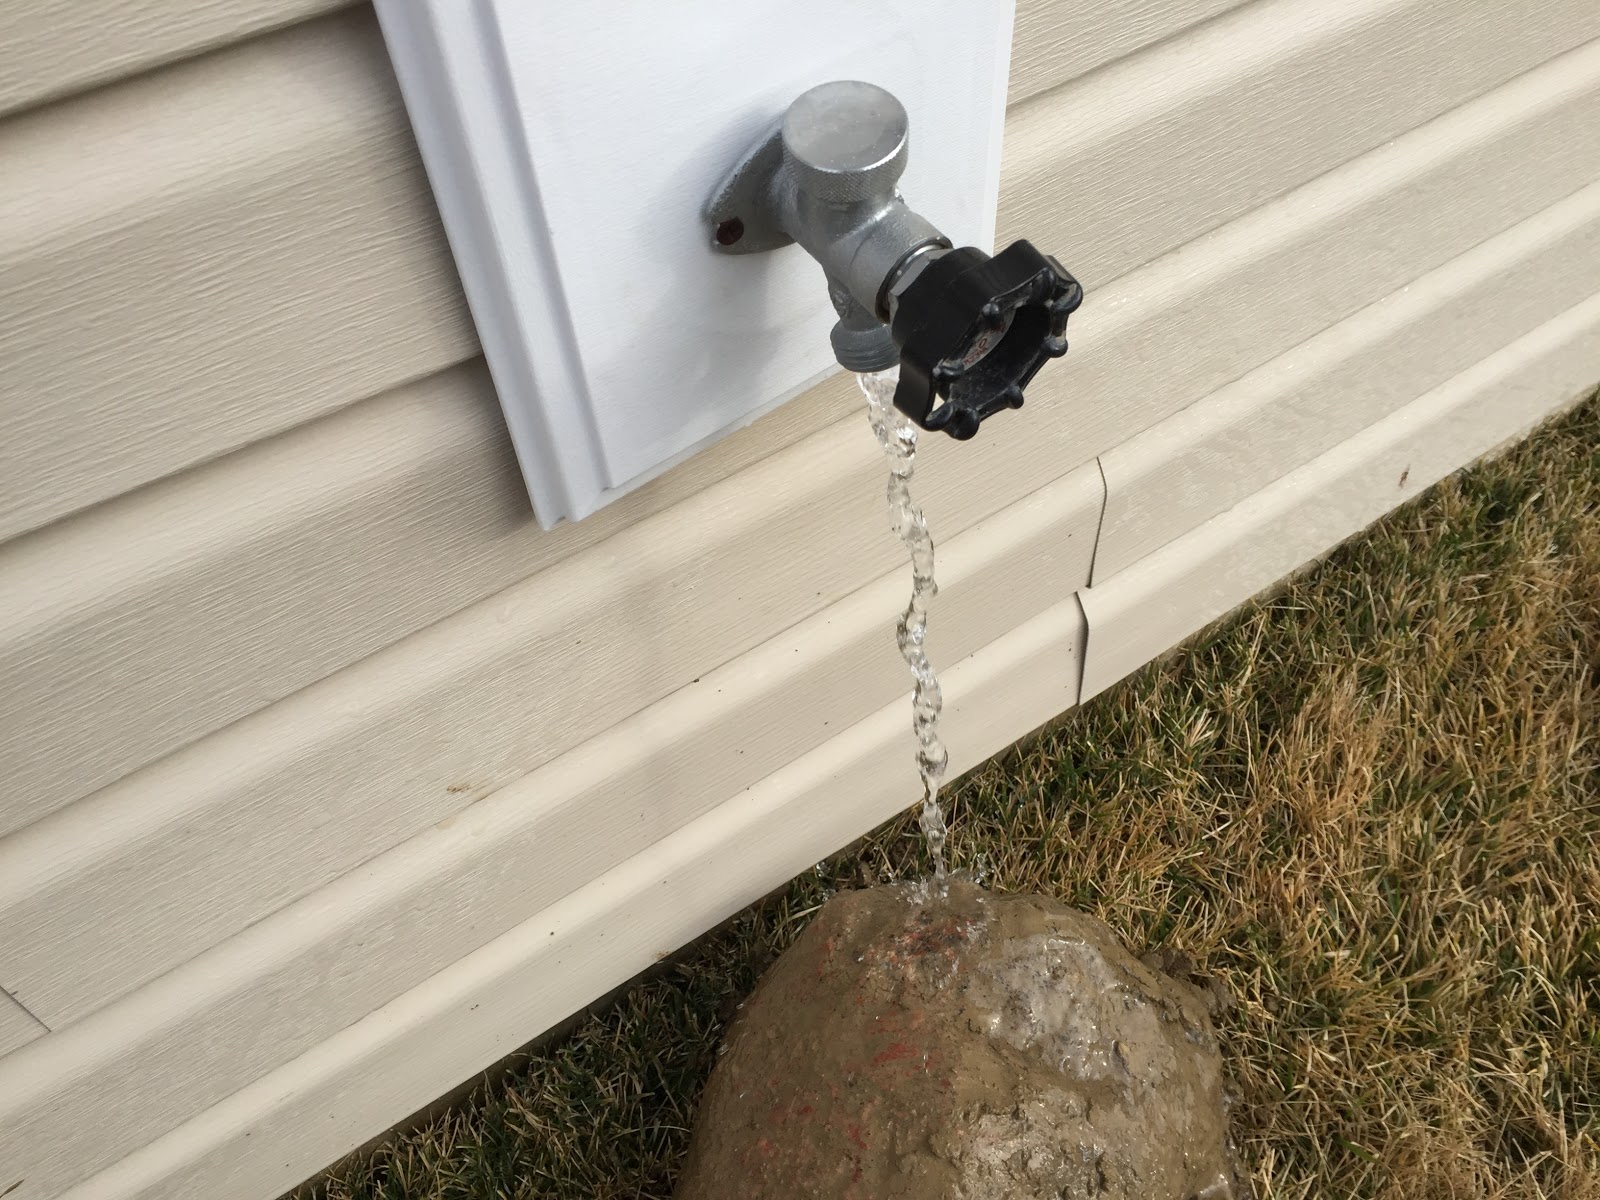
I used a kitchen spatula to help scrape the clay off the rock, tried running it under water, and ended up using a kitchen scrub brush to help get the clay off under a constant stream of water. Unreal!

cleaning clay off rockcleaning landscaping rock

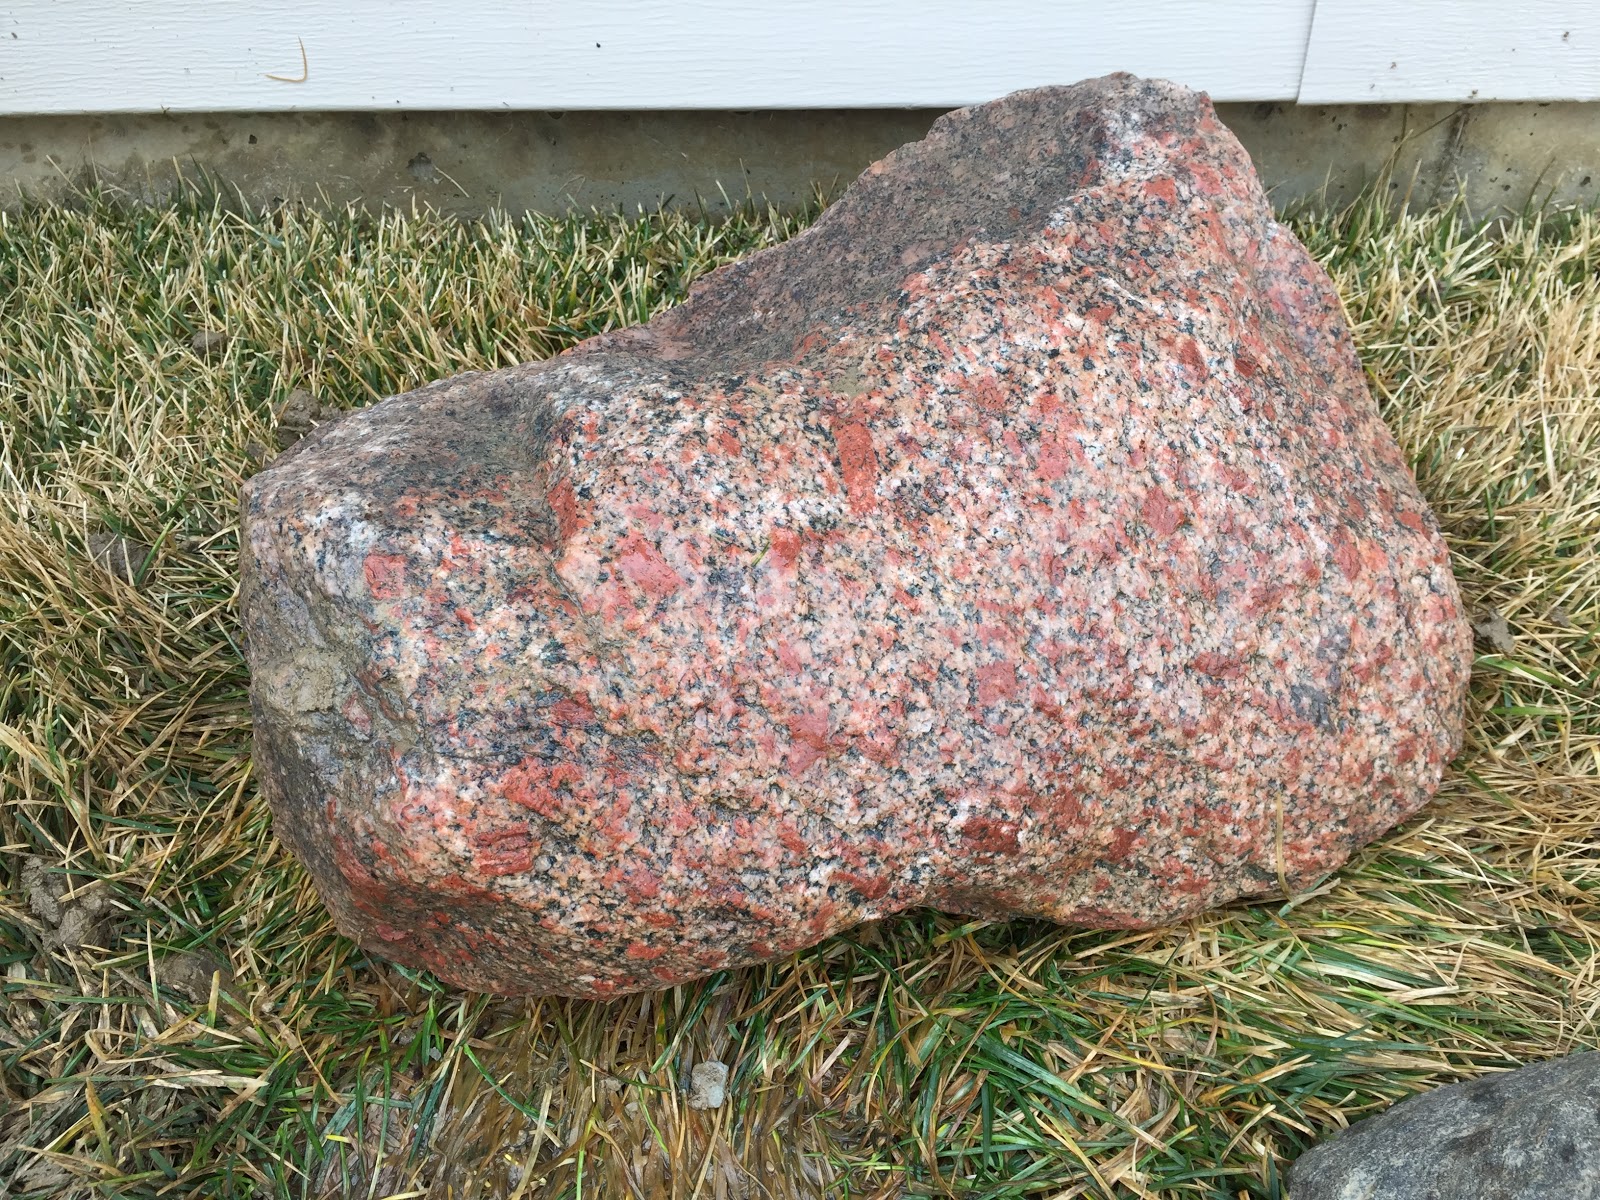
And what was the result? Did I get a beautiful granite rock like I was hoping for, or a lumpy 'dinosaur egg' as my dad calls the boring rocks. It looks like a winner to me! Great color, interesting shape! I'll take it!

granite with scrub brush
My clean and colorful rock

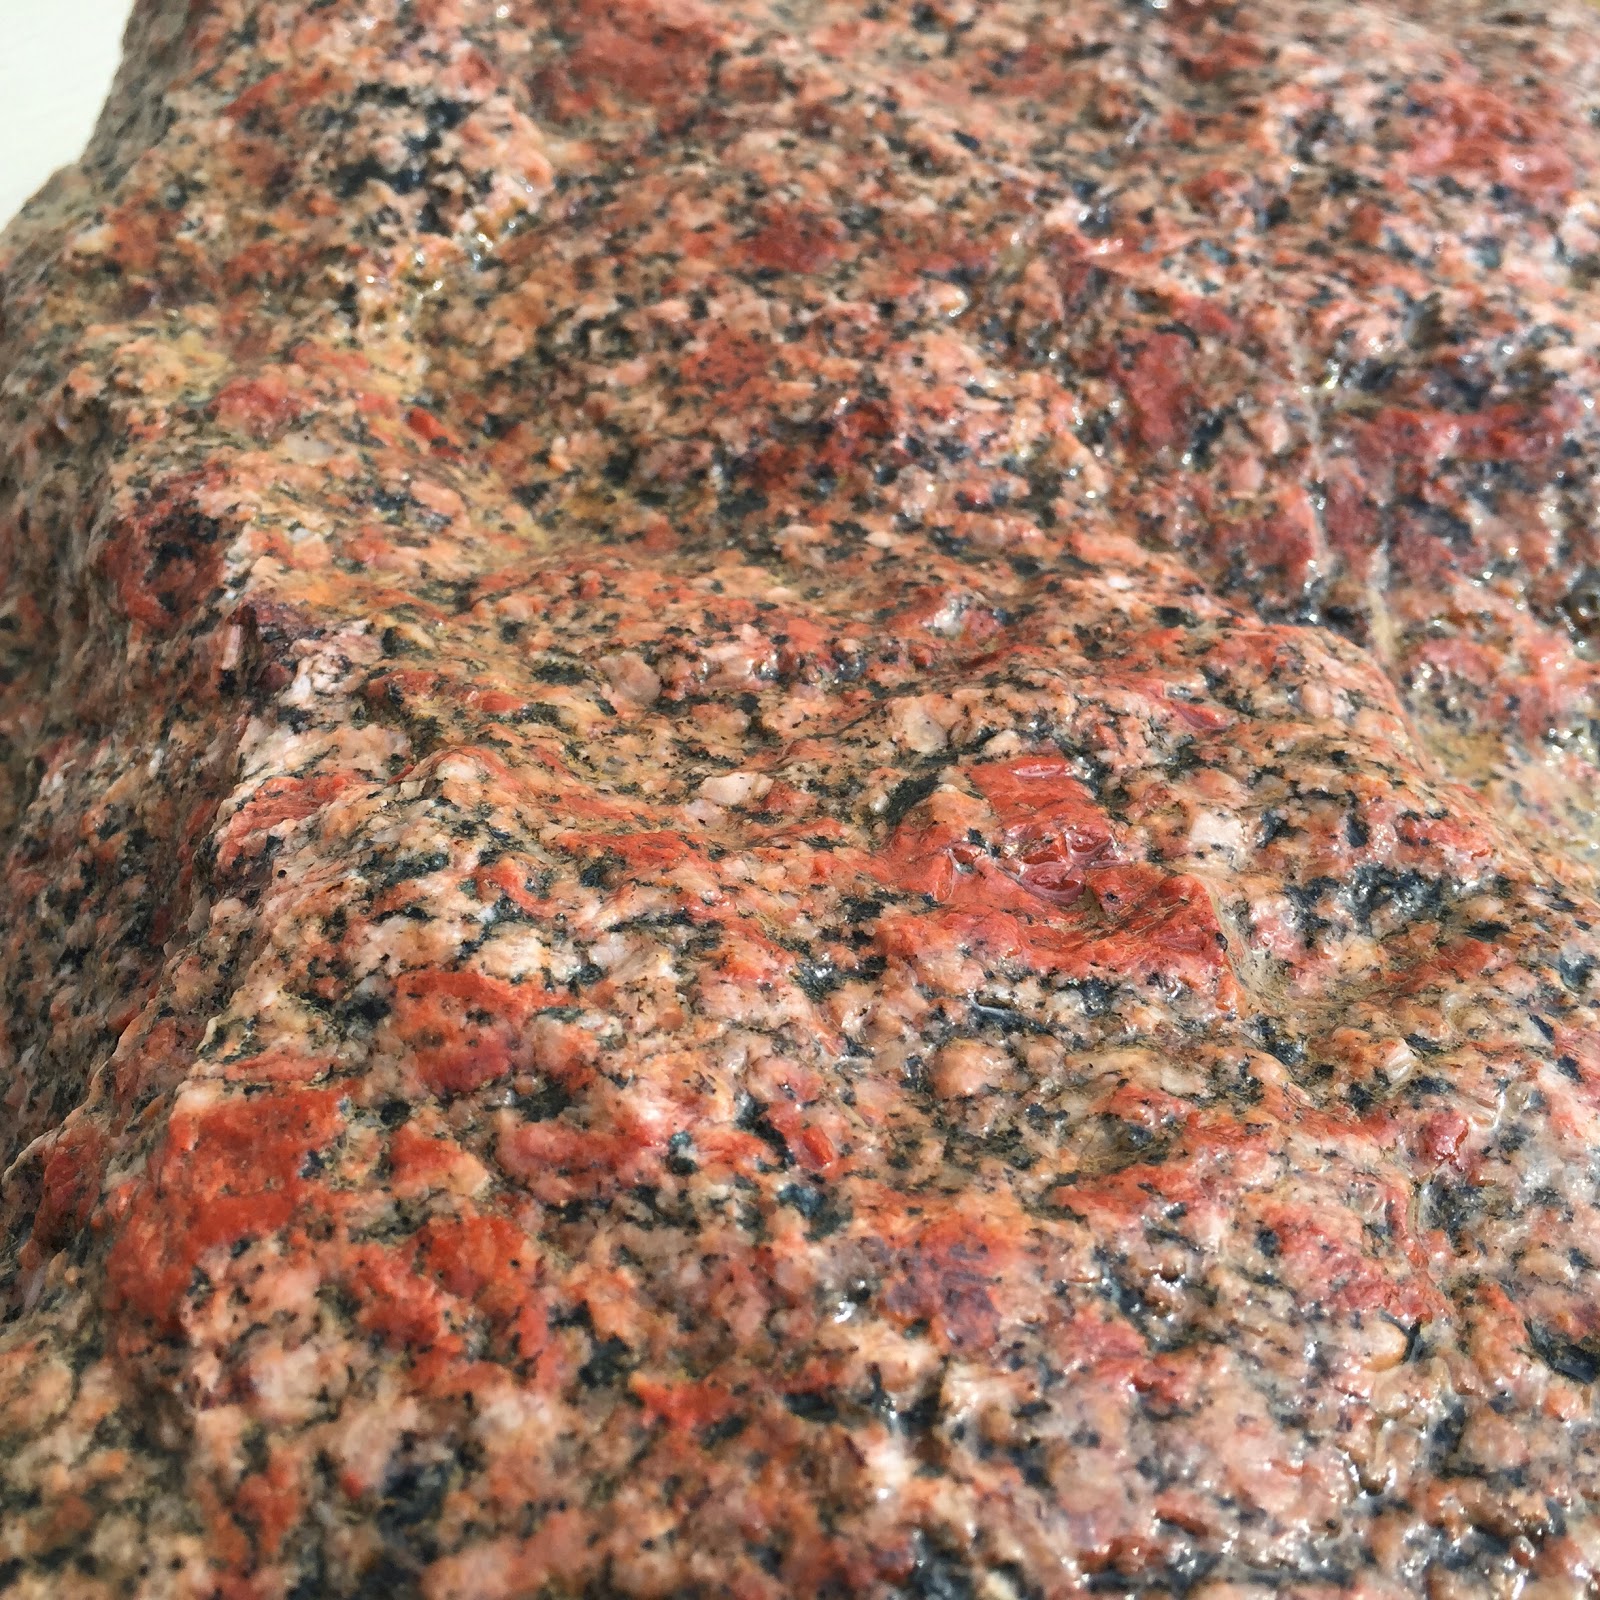
granite close up
Great color and detail, a lovely pink orange granite

granite landscaping rock
A rather interesting shape, not just another lump of gray. I think I'll turn the dark part down and leave the pink sticking out of the bed I'm putting against the back of my house. I think this rock is more of a feature rock and I'll leave the boring ones for structure. Win!
Are you addicted to landscaping rocks? Does your husband or wife hate them as much as mine (lol)? Do you think I'll be able to call it quits after getting this "one that almost got away?" Leave your comments below and let me know.