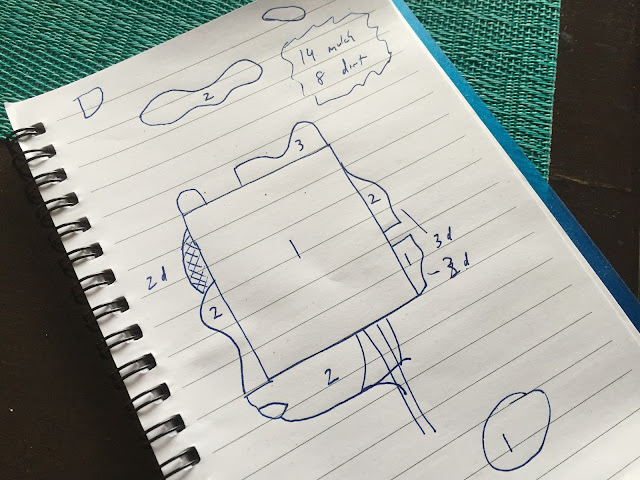
I knew I would have to dig up most or all of the plants in the side yard and add soil beneath them, or try to pile mulch on top hoping the roots would migrate up and still let the plant come through without smothering it. Can you mulch over hostas? I guess we'll find out.
I moved some hostas up by adding dirt underneath them and re-planting them. And for others, I just piled about 3 inches of mulch on top of them. I'm hoping the roots will migrate up and when the eyes emerge they will keep going until they break through.
In general, the plants were a little more dormant than I anticipated. I was expecting to see hostas eyes getting ready to emerge, but they were just big masses of roots. It was hard to tell exactly where they would pop up. Some might be too close to my new additions.
I'm also going to have to get used to the idea of my plants touching at some point. So far everything is so small and spread out. Hopefully with this bed getting raised I won't have to move as much around next year. I just want to let stuff grow in and get settled for a season. It still looks very young and new and it will be a few years before it has a full lush feel to it - but you have to start somewhere!
 |
| Nice clean bed lines, and those Scotch Moss really pop! |
It's hard to tell just how raised the bed is from the photos. It actually has quite a steep include on the side, and I'm hoping the hostas come out and help hold in the mulch. I really like it! The raised look makes the yard feel more expensive, especially when everything is so flat in Indiana.
I also mulched under the air conditioning unit. I had originally put the rocks under there back when I didn't have a side bed at all. When I put in the side bed last year, I kept the rocks but over time realized how it broke up the flow of the line. I took most of the rocks and put them other places in the yard, but then I covered up a good amount - a nasty surprise for the next home owner? I can just picture them trying to plant in the mulch and being annoyed to find rocks. But for now it's not a big deal, I think it will actually help keep the AC from sinking over time, and help keep my ostrich fern from sending up runners under the unit. Plus it looks so nice and makes a clean line finally.
 |
| No more rocks under the air conditioner |
 |
| Hard to tell by the picture, but the bed is raised about 5 inches, it makes the yard look more expensive for some reason. |
Finally, I moved one of the Royal Candles to the back yard in full sun, which I think it prefers. I can test between the two to see which does better. All I know is that last year they did NOT like getting soggy all summer in a very rainy June.
 |
| That wet spot is the Royal Candles moved from the side yard. |


No comments:
Post a Comment